Camera Settings Information on the Green Feathers app - 3rd Generation Wi-Fi (GFWF3/NCIP3WF, GFIP320BWF, GFIP3)Updated 15 days ago
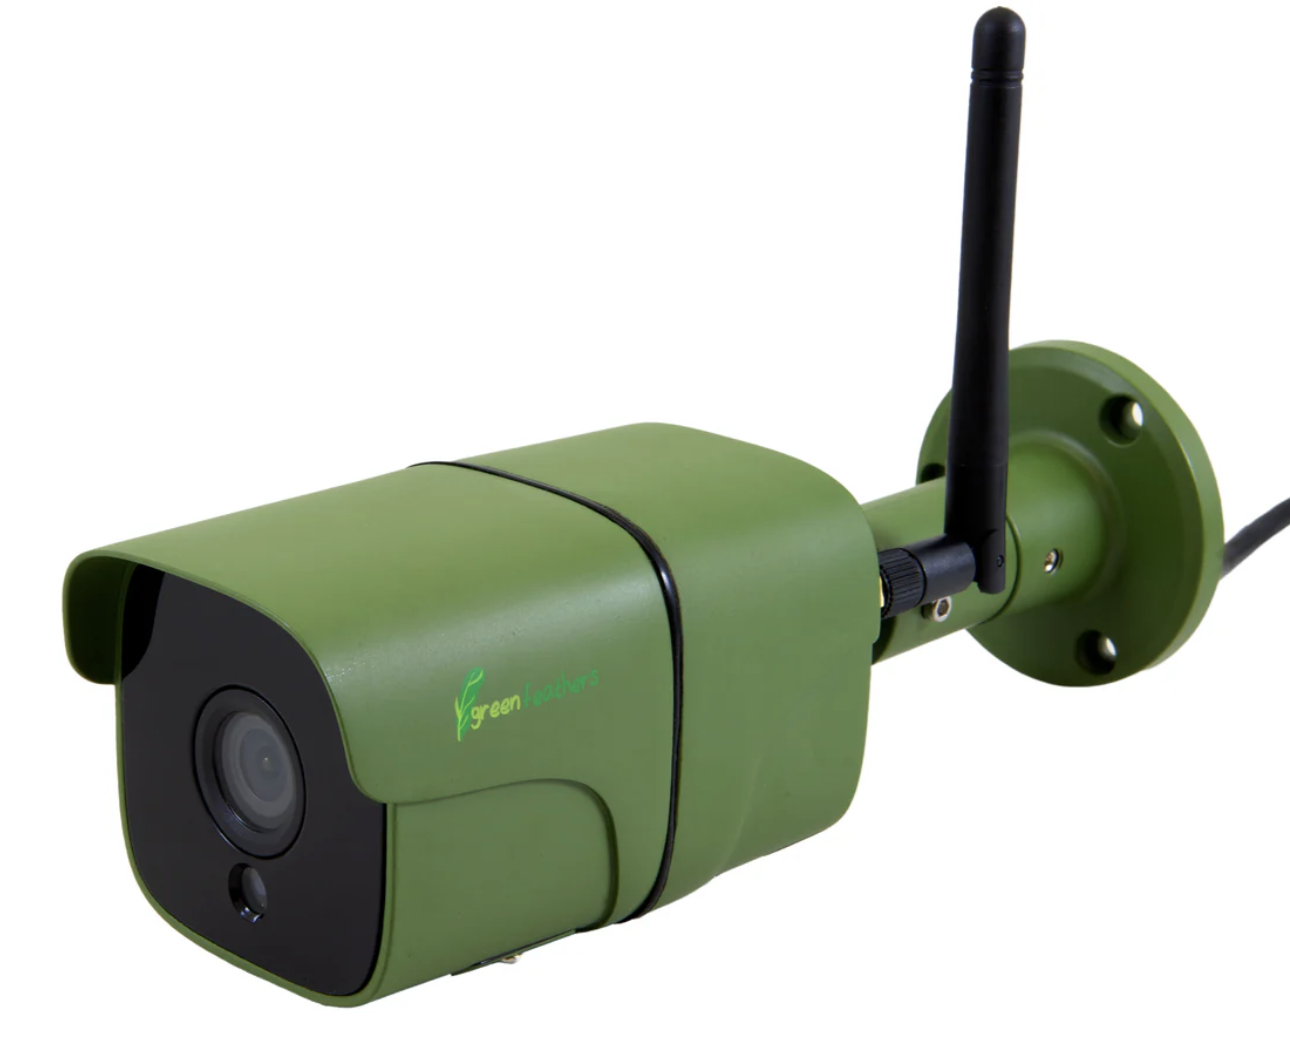
This guide will go over the camera settings for the following cameras, if you are unsure of the camera you have, have a look here or get in contact with us!
 |  |
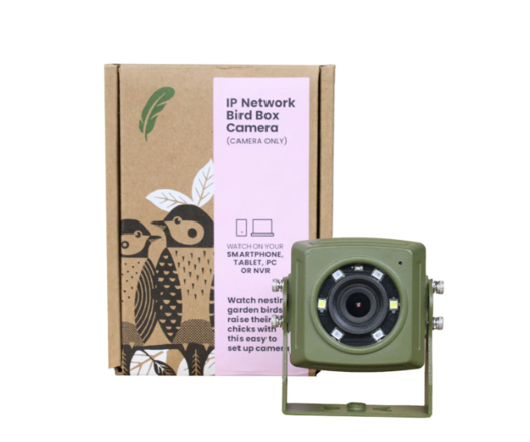
Wired IP Network Bird Box Camera (GFIP3)
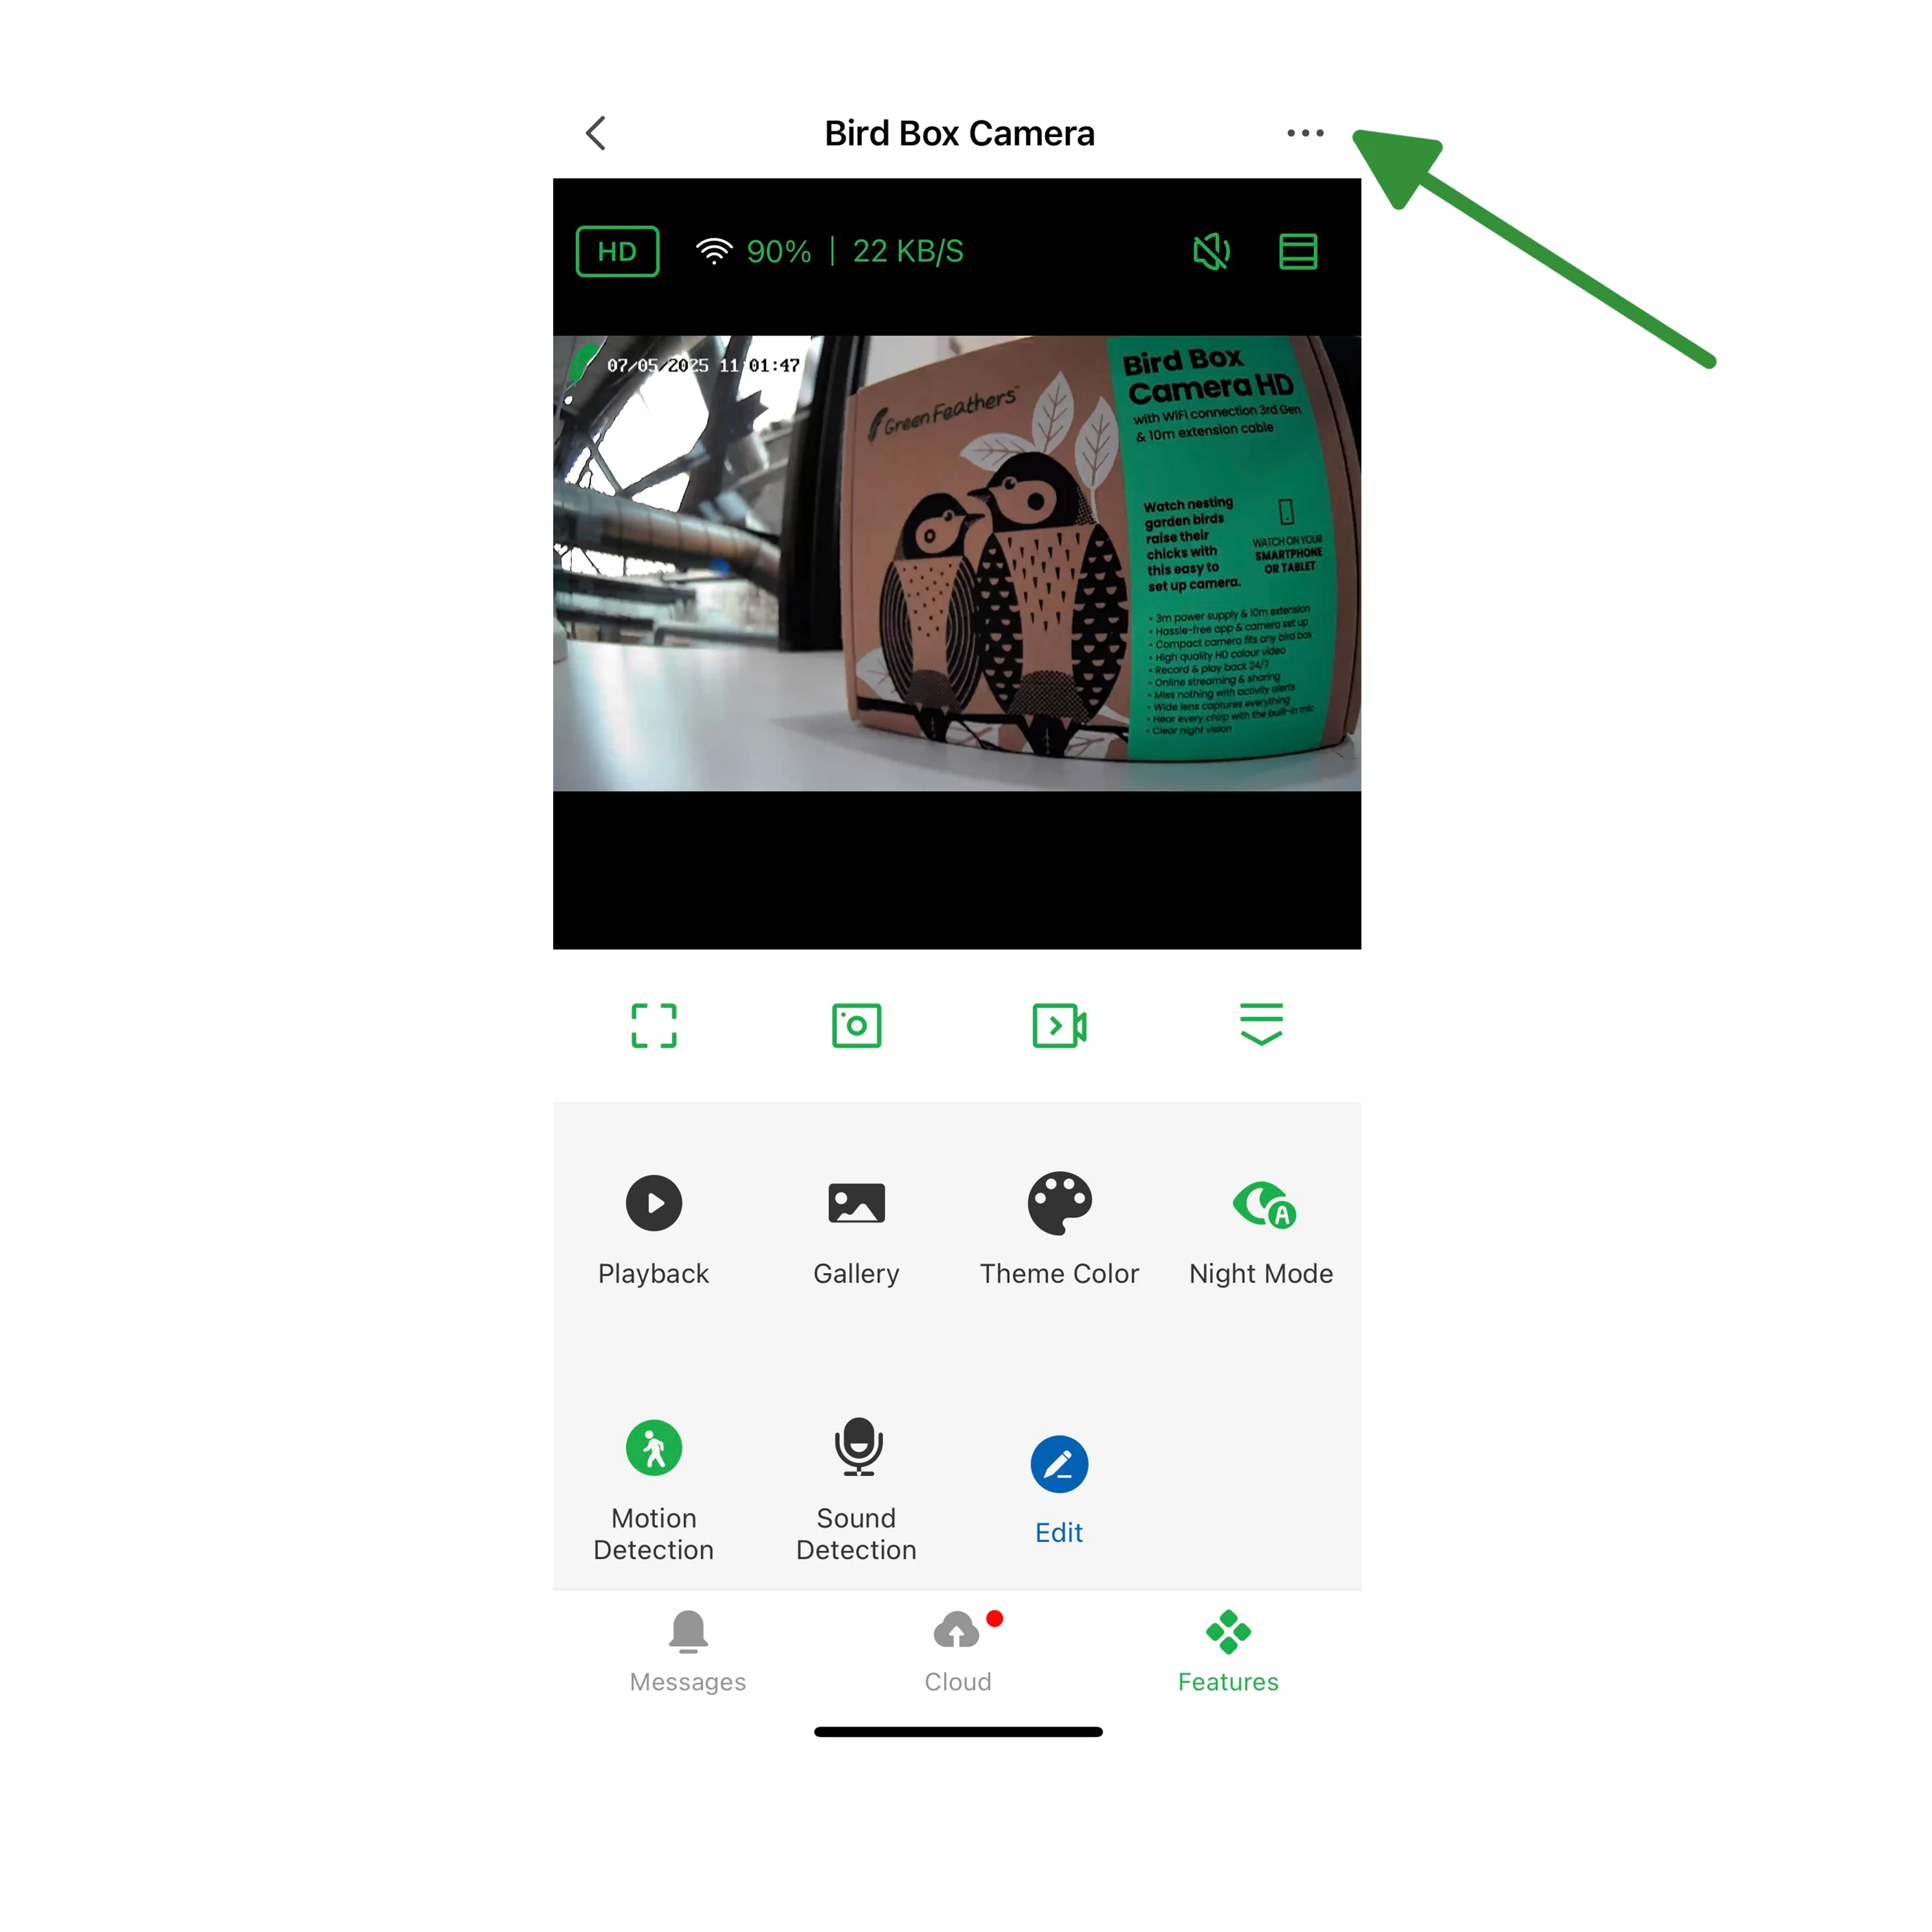
You will need to navigate to the settings page for your camera. You can do this by selecting the three little dots in the top right corner of the live view page.
Please note: Each settings page is per camera, if you change any settings in there you are only changing the settings for that particular camera.
Once you're into the settings page you will see the following list - 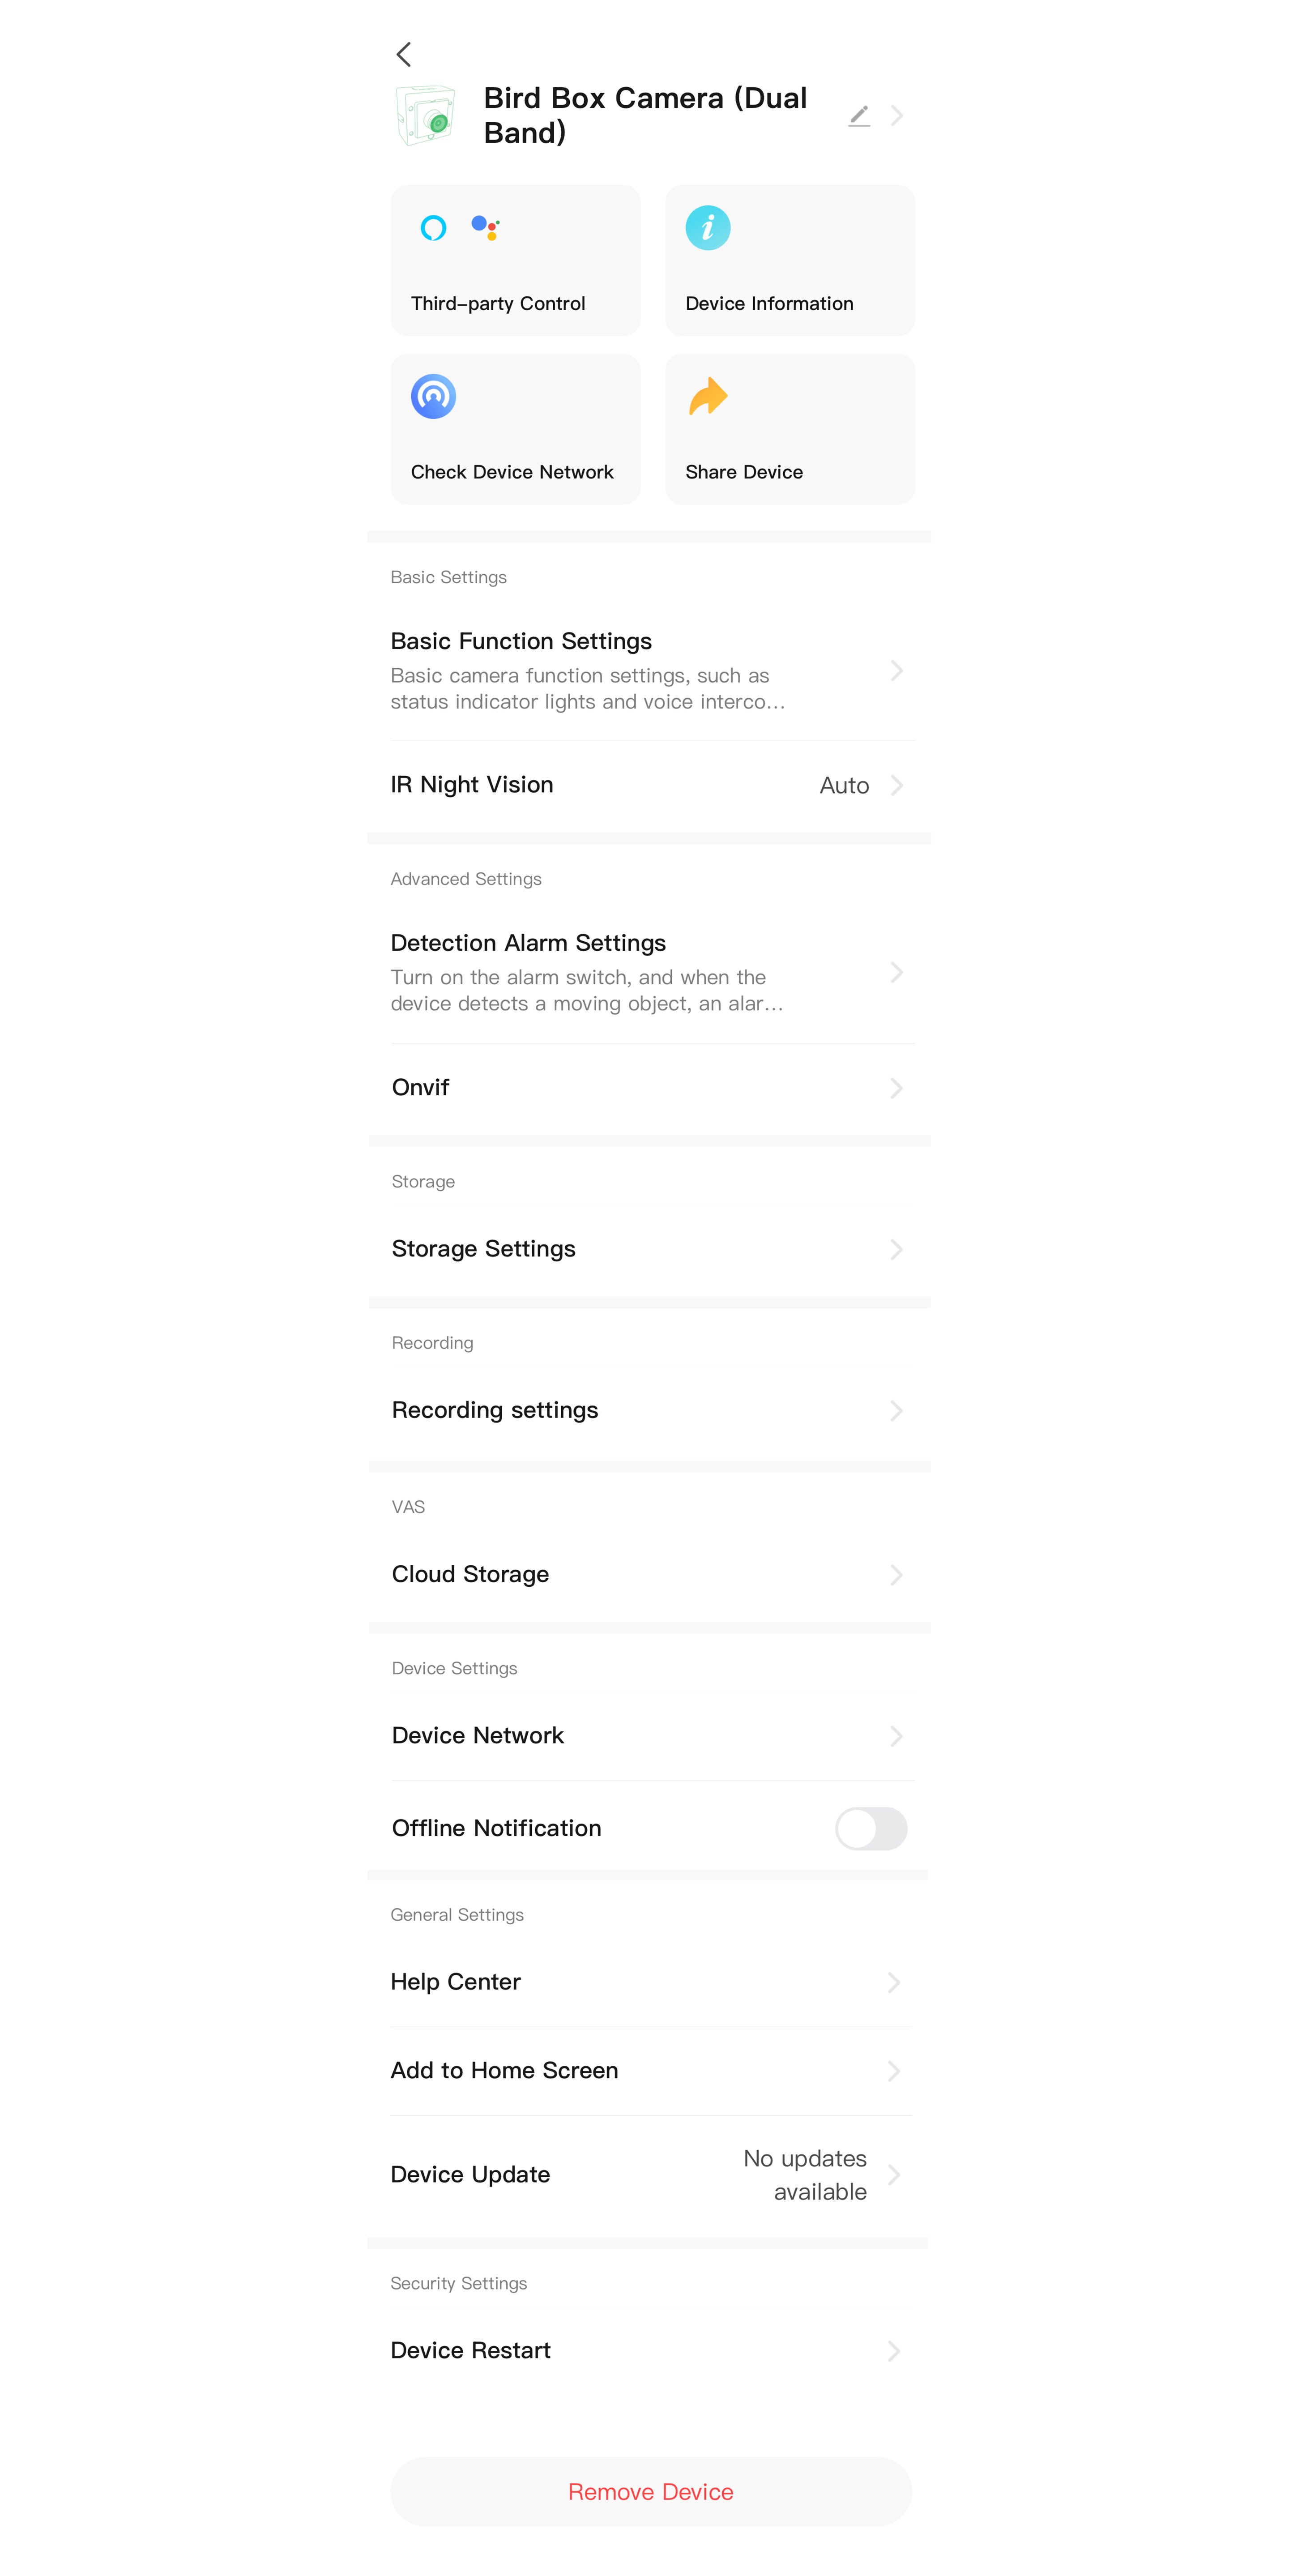
We will go through these one by one in order.
The very top option where you see the camera name and the little pencil icon is the customisation of the camera, here you can change the icon image, the name and the location.
Third Party Control - For both of these cameras, you can enable use with Google Home and Alexa devices. To see how to connect to Alexa, see here. To see how to connect to a Google Home device, see here.
Device Information - This page will show you the Virtual ID, the IP address of the camera, the time zone and the current signal strength.
Check Device Network - This will show you the current connection status between the camera and your router.
Share Device - Click here to share your camera to someone, if you want some more information on how to do this, have a look at this guide here.
Basic Function Settings - On here for these two cameras you will have the option to 'Flip Screen', this will mirror the live feed image.
IR Night Vision - Selecting this will show you the following options - Auto/Off/Open. We recommend keeping the camera on Auto but this allows you to switch between them. Off menas the IR Night Vision is switched off and Open means it stays on.
Detection Alarm Settings - This will show you the settings for the motion detection, for more information on this, have a look here.
Onvif - Some of our newer cameras have the Onvif compatibility. This is where you can switch Onvif on and set a password.
Storage Settings - (Please note: this setting is only available if you have an SD card inserted in the camera) The storage settings will show you the information of the SD card you have inserted in the camera. You will see the total capacity, used storage and the remaining capacity for the card. As well as an option to format the card.
Recording Settings - (Please note: this setting is only available if you have an SD card inserted in the camera) Here you will see the recording settings for the camera, for more information on this, please have a look here.
Cloud Storage - Here you can purchase cloud storage or view your current subscription. You do not need to purchase a cloud storage subscription if you have an SD card inserted. For more information on the cloud storage have a look at this guide here.
Device Network - (Please note: this option is only available on cameras sold in 2025) the device network page will show you the network you are connected to and also allow you to add an extra network for the camera to connect to if the first one fails.
Offline Notification - Tick this one if you want to receive a notification if your camera goes offline.
Help Centre - Our help centre is currently in the works, there is some useful information on there but with our app upgrade some of it has become disjointed and muddled. We are working on getting this fixed ASAP.
Add to Home Screen - This allows you to add a homepage widget on your phone.
Device Update - This will show you any current device updates.
Device Restart - Device restart will reboot the camera, not reset it. Give this a go if the camera is not working properly.
Remove Device - Remove device will remove the camera from the app and do a factory reset.
Need more help?
If you need help with anything else please check out our other guides or get in contact.