Green Feathers App Guide - 3rd Generation Wi-Fi (GFWF3/NCIP3WF, GFIP320BWF, GFIP3)Updated 14 days ago
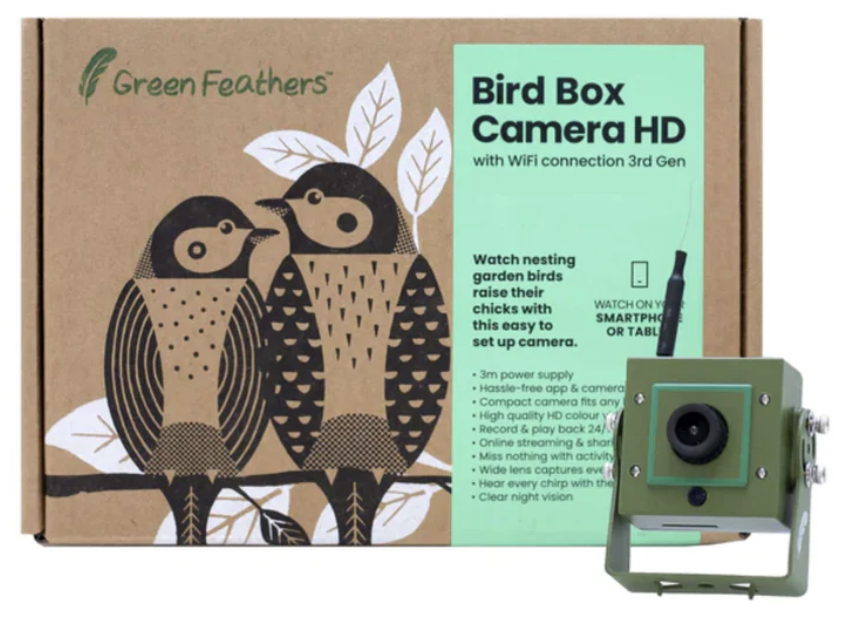
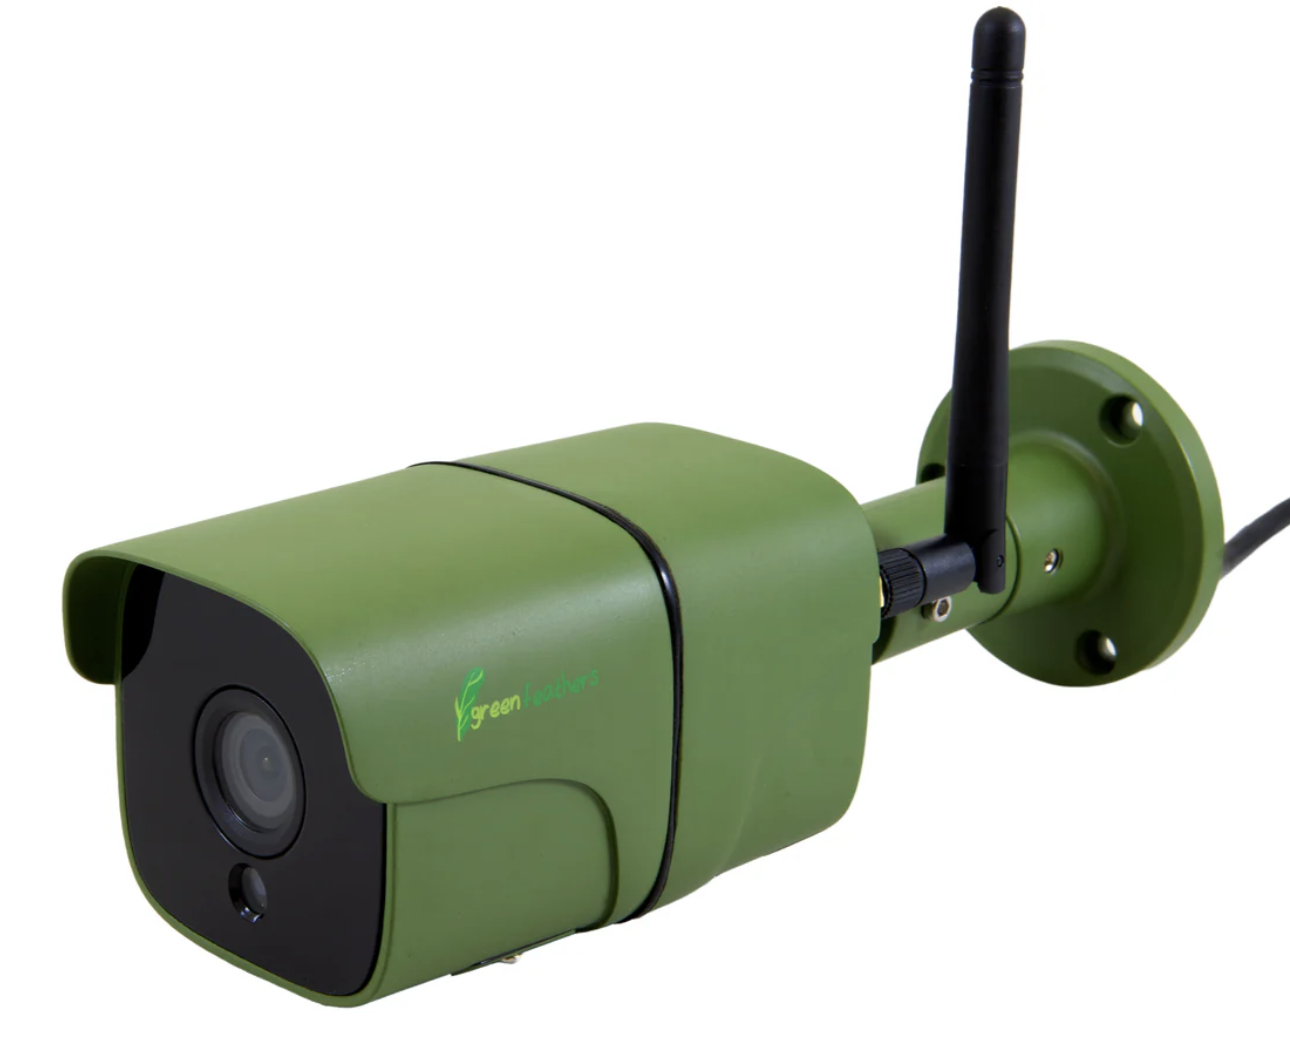
This guide will run you through the Green Feathers app, specifically for the 3rd Generation Wi-Fi cameras (GFWF3/NCIP3WF, GFIP320BWF, GFIP3) pictured below. If you are unsure of which camera you have please check here.
 |  |
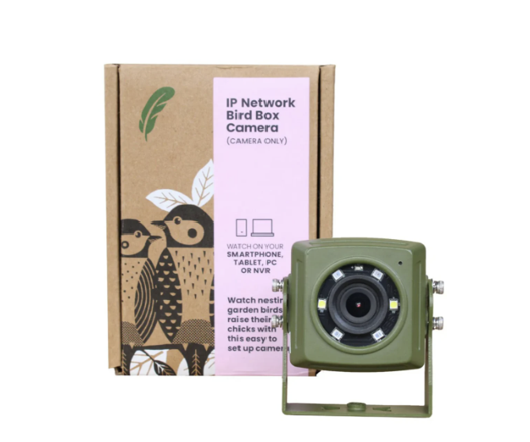
Wired IP Network Bird Box Camera (GFIP3)
Let's start at the homepage of the app, here you will see the following options:
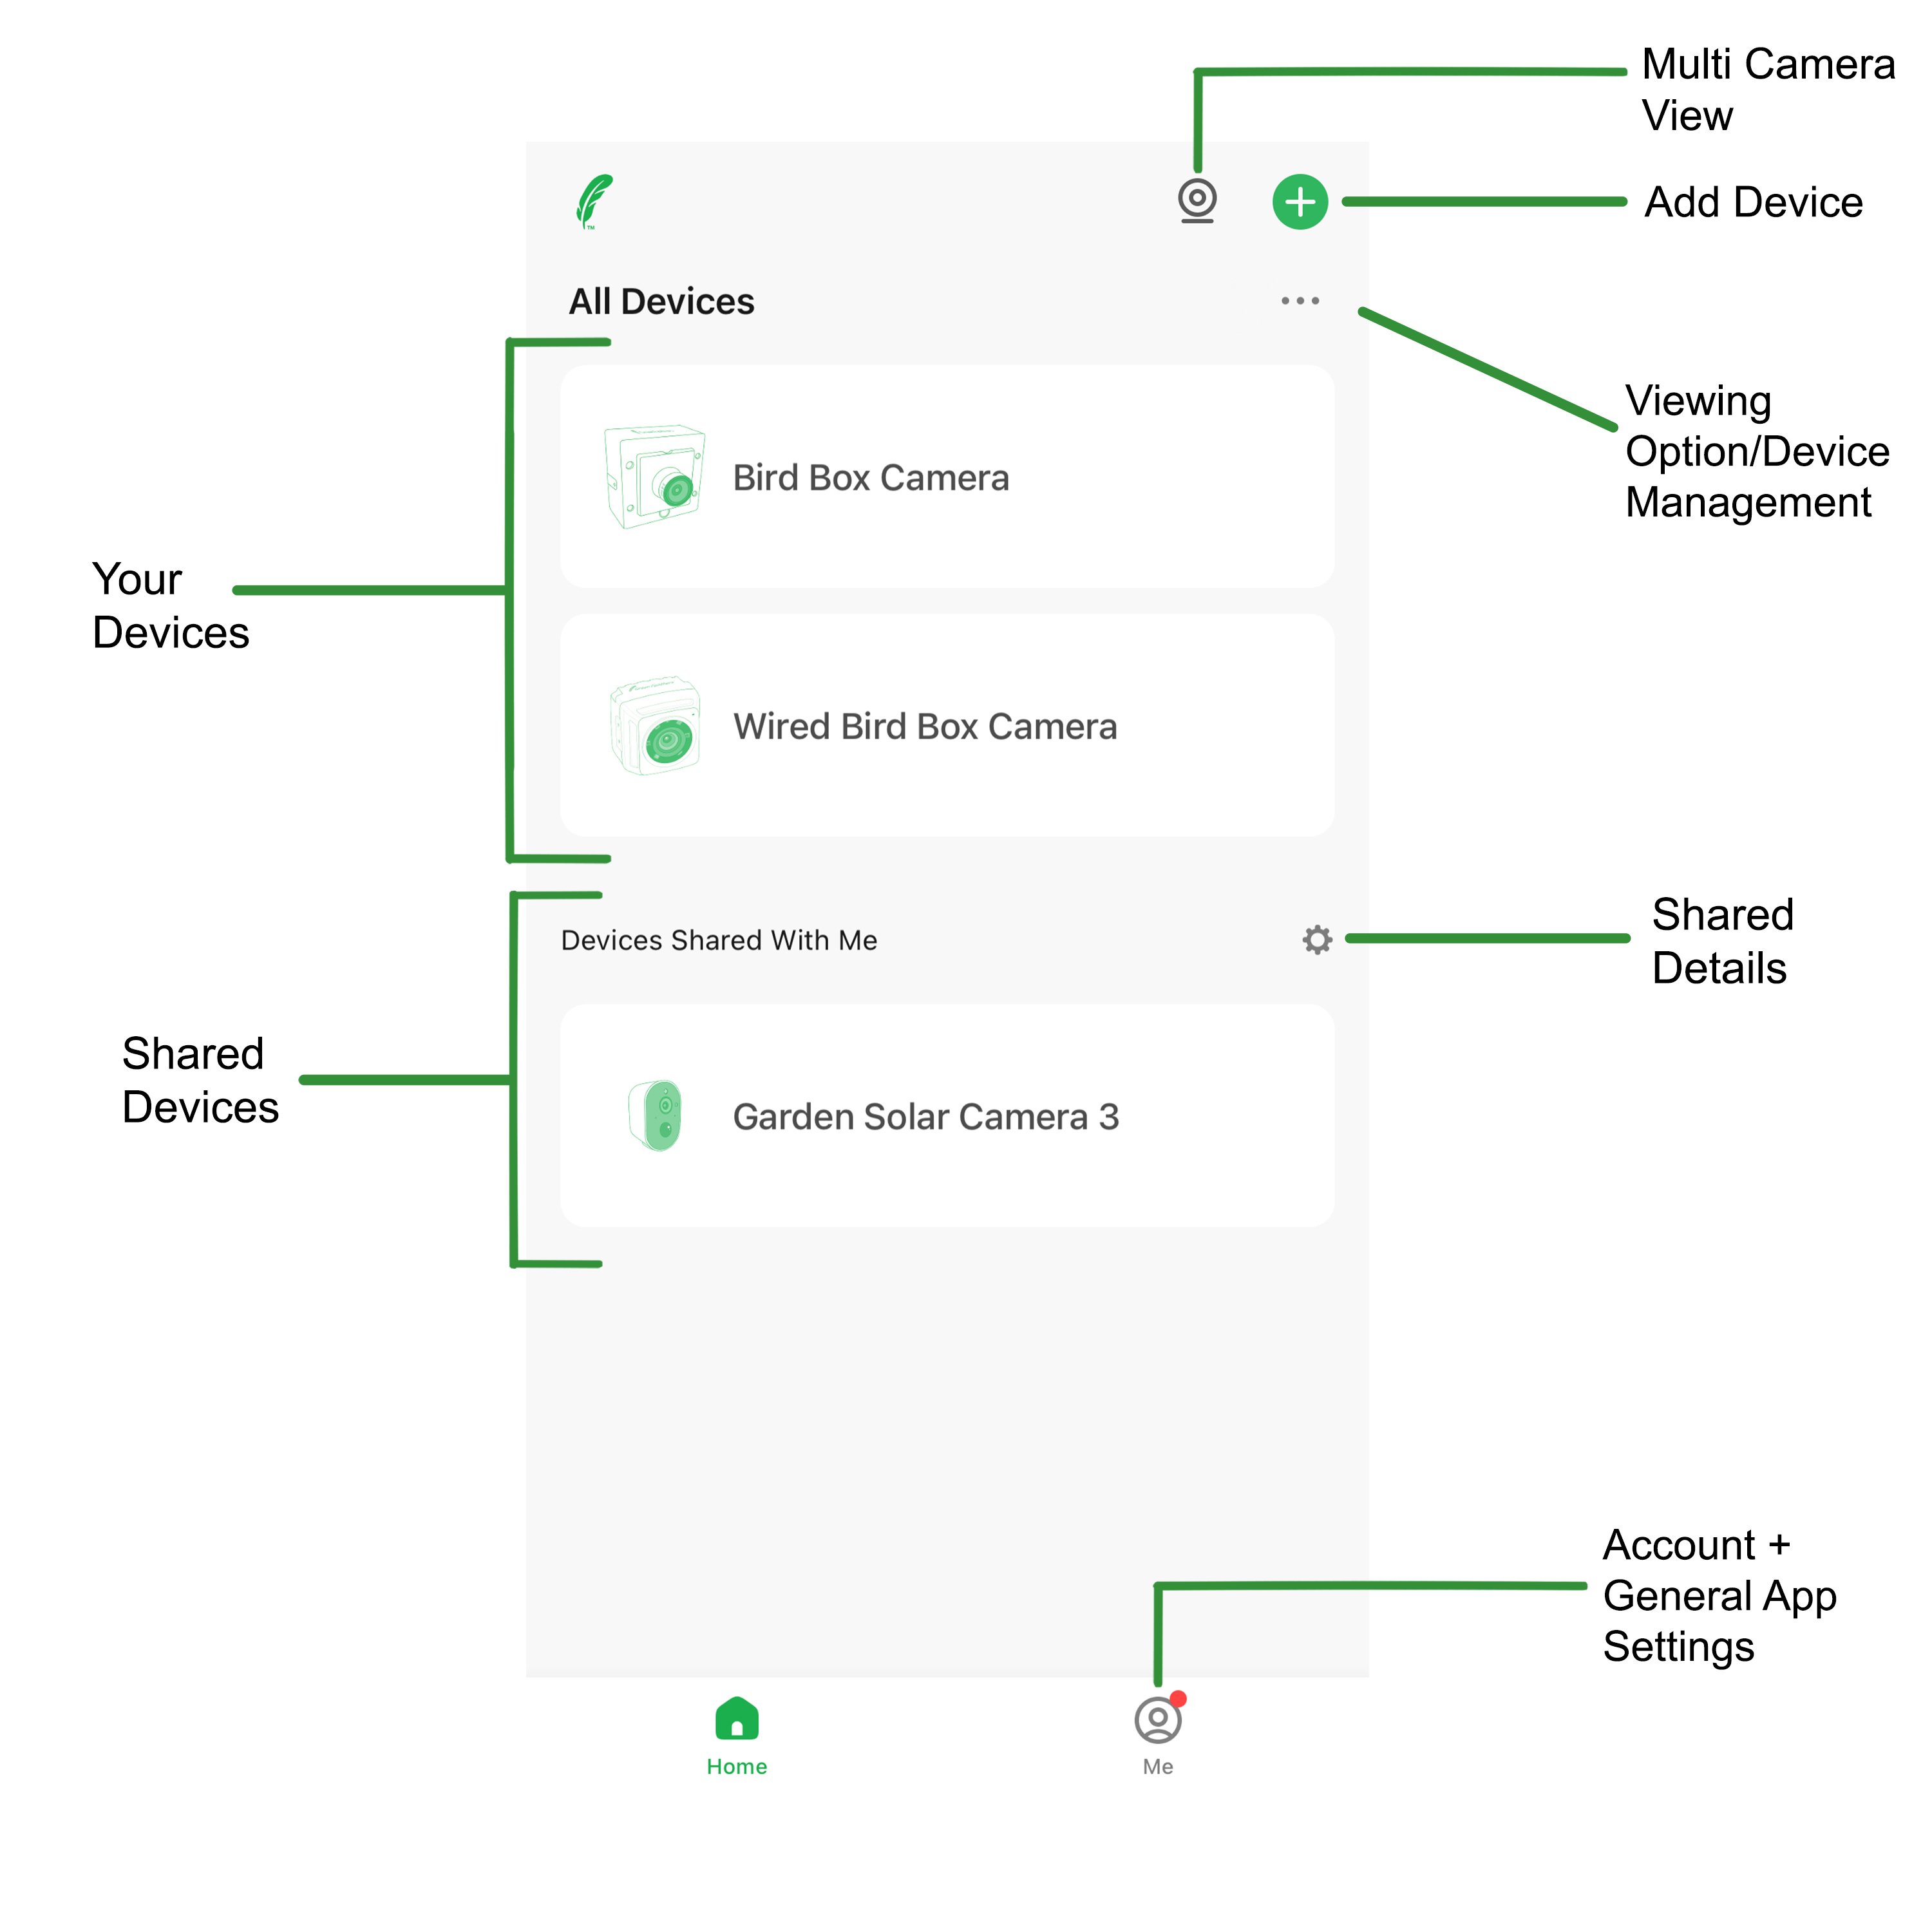
Your Devices - This section will show you the devices you have connected to the app. There is no limit to how many cameras you can connect and they will all show up here.
Shared Devices - This section shows you the devices that have been shared with you.
Multi Camera View - This allows you to view all of your devices live feeds at once in a tile view. You can view up to 16 at once. You can also record and screenshot from your live feeds on this layout.
Add Device - Select this when you want to add a new device.
Viewing Option/Device Management - Viewing option gives you the choice between list view and grid view. Device Management lets you edit the order the cameras as well as delete them.
Shared Details - The shared details option lets you see who has shared the camera with you.
Account + General App Management - For more information on this have a look at this guide here.
If you select a camera you have connected to the app it will take you to the live feed page for that camera and you will see the following icons:
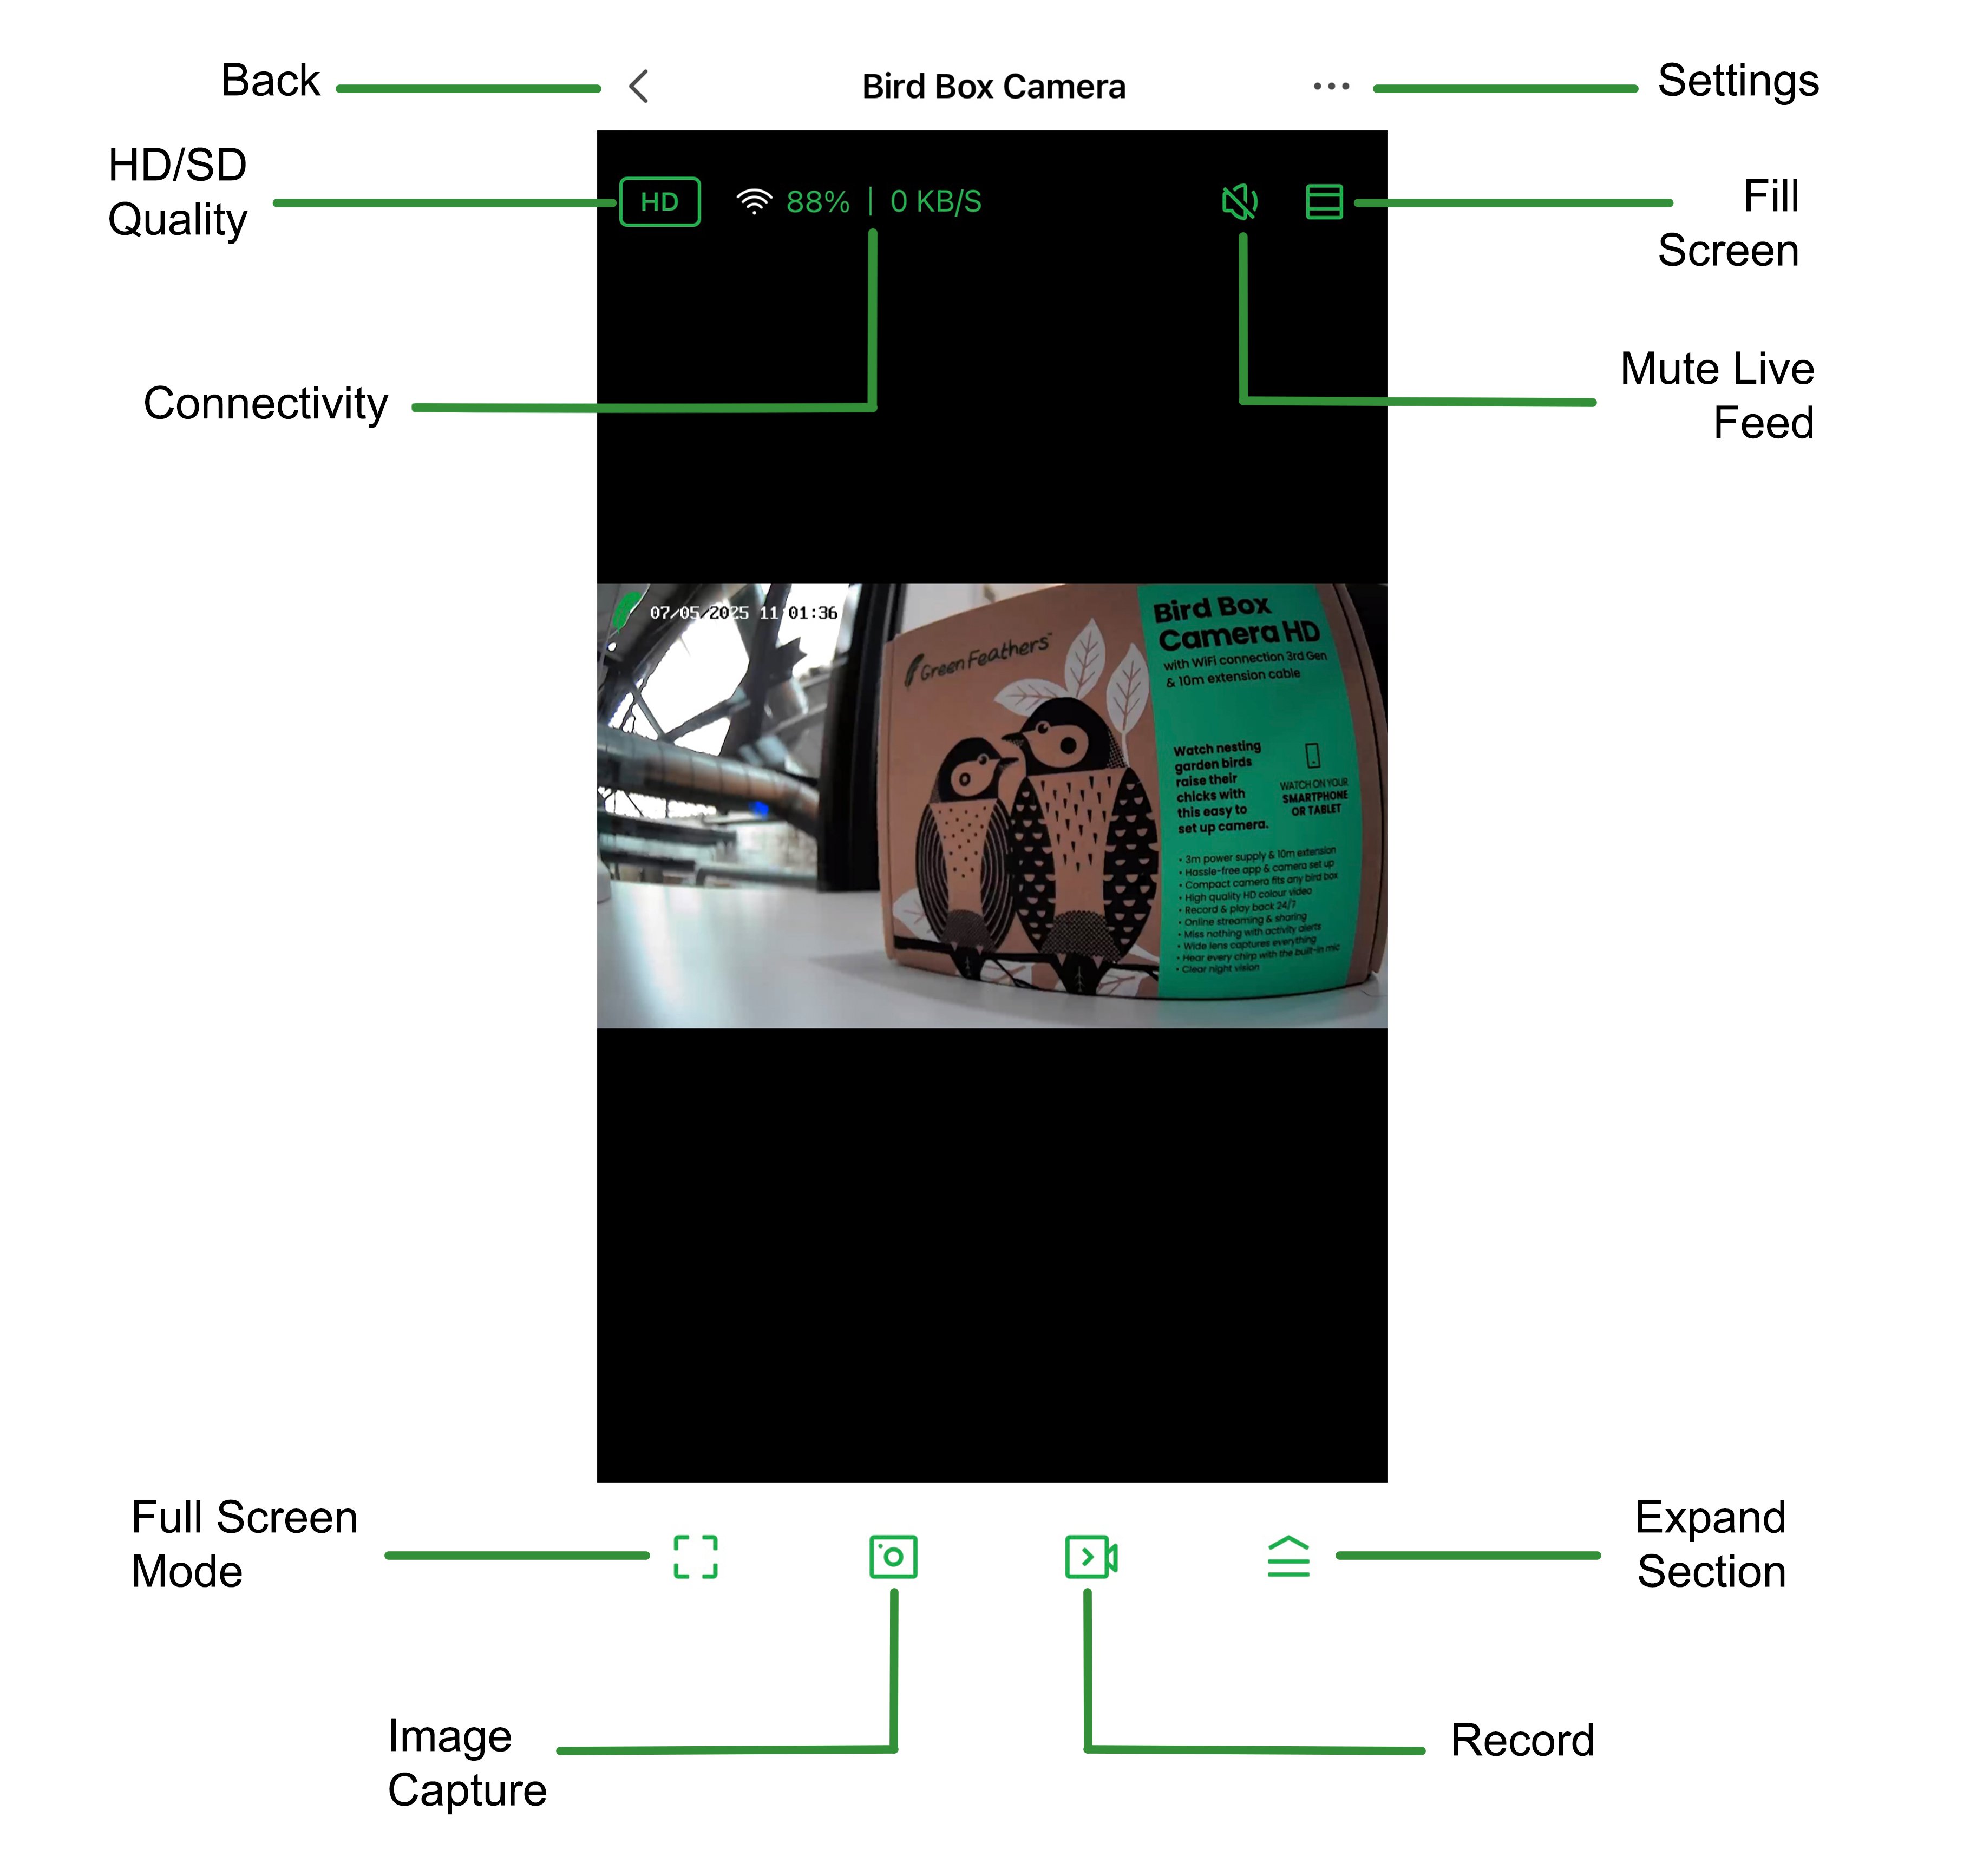
Back - Takes you back to the homepage of the app.
HD/SD Quality - This allows you to switch between HD and standard definition.
Connectivity - This shows you the current connection percentage and the KB/S.
Full Screen Mode - Selecting this will change the live feed to landscape and full screen.
Image Capture - This will take an image of the live feed and saves it to your gallery on the app.
Settings - This will take you into the cameras settings
Fill Screen - This makes the live feed image larger and fills the screen.
Mute Live Feed - This just mutes to noise you are hearing from the live video.
Record - This allows you to record a section of the live feed you are seeing, you can record for as long as you like and this will be saved into your gallery on the app.
Expand Section - Select this and it will show you this selection of icons:
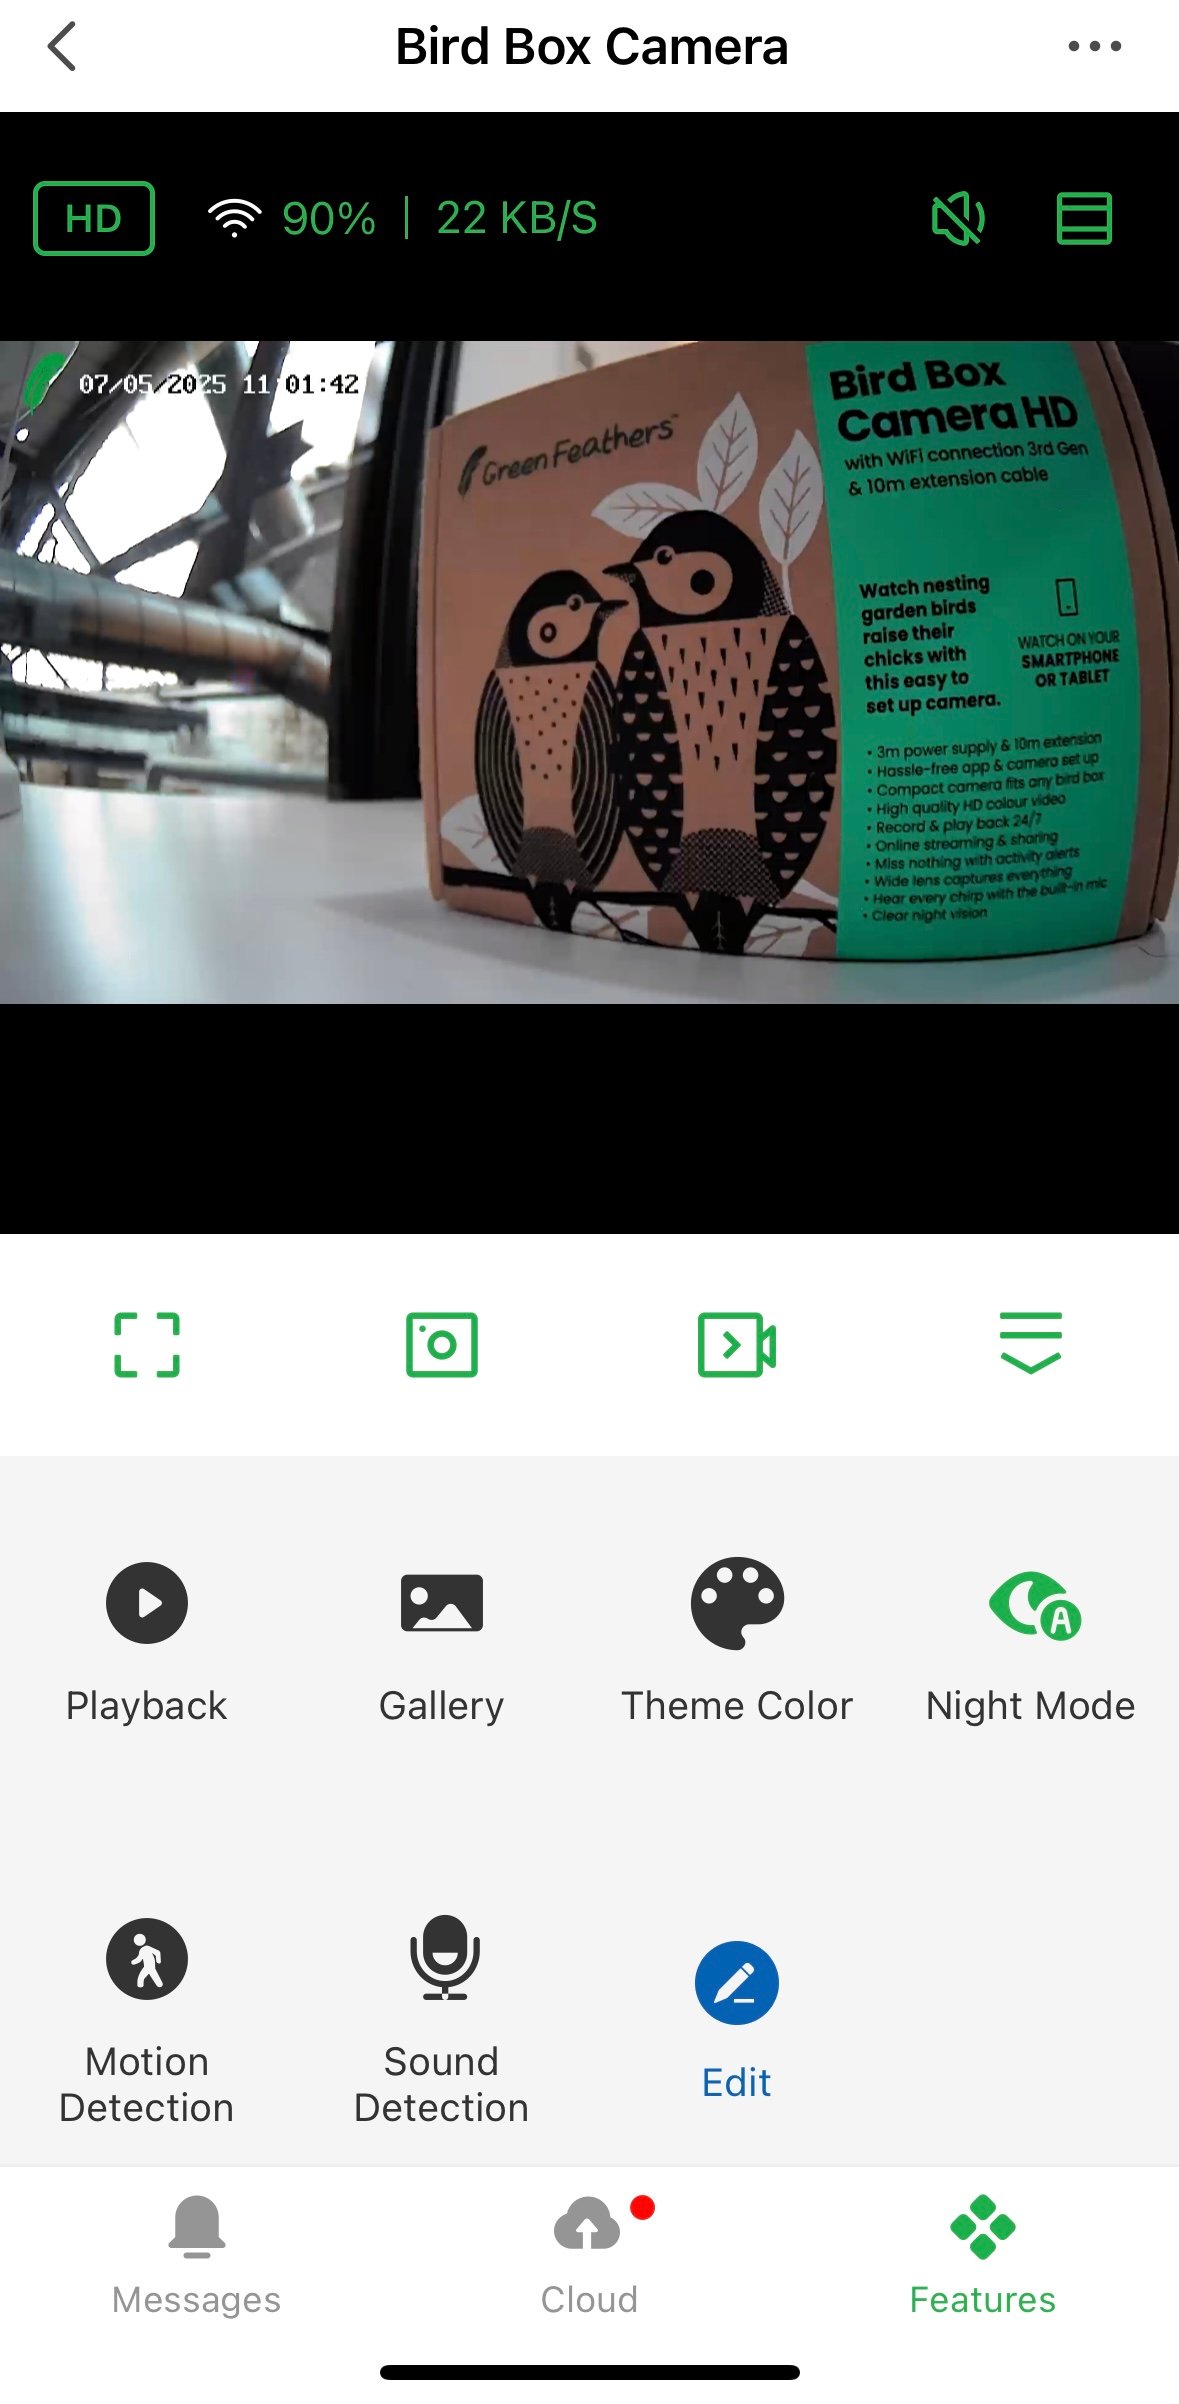
 Playback - The playback function shows you any videos recorded from motion detection/continuous recording (this is only if you have an SD card installed). Click here to find out more about the playback section and exporting recordings.
Gallery - This is where any of your saved images/video clips will be stored.
Theme Colour - This allows you to switch between 'Light' and 'Dark' mode. This only changes the colour layout of the app.
 Night Mode - Night mode refers to the camera's black and white IR night vision. By selecting this, a menu will appear that includes 'Auto' 'Off' and 'On'. We recommend setting the camera to 'Auto', this means the camera will switch between day and night mode when the light levels are right. Selecting 'Off' disables the night mode and selecting 'On' keeps night mode on constantly.
Motion Detection - This allows you to disable/enable motion detection.
 Sound Detection - This allows you to enable/disable sound detection. This works in a similar way to motion detection but will send you alerts triggered by sound (this can be far more frequent that motion)
Edit - This is not a function we have enabled on the app just yet. It would allow you to change the order of the buttons.
Below these options you have the following
 Messages - This will show you a reduced message centre which shows you the most recent motion detected. If you click on that one it will show you the still image taken from the camera when motion was detected.
Cloud Storage - Click here to see more information on the Cloud Storage function
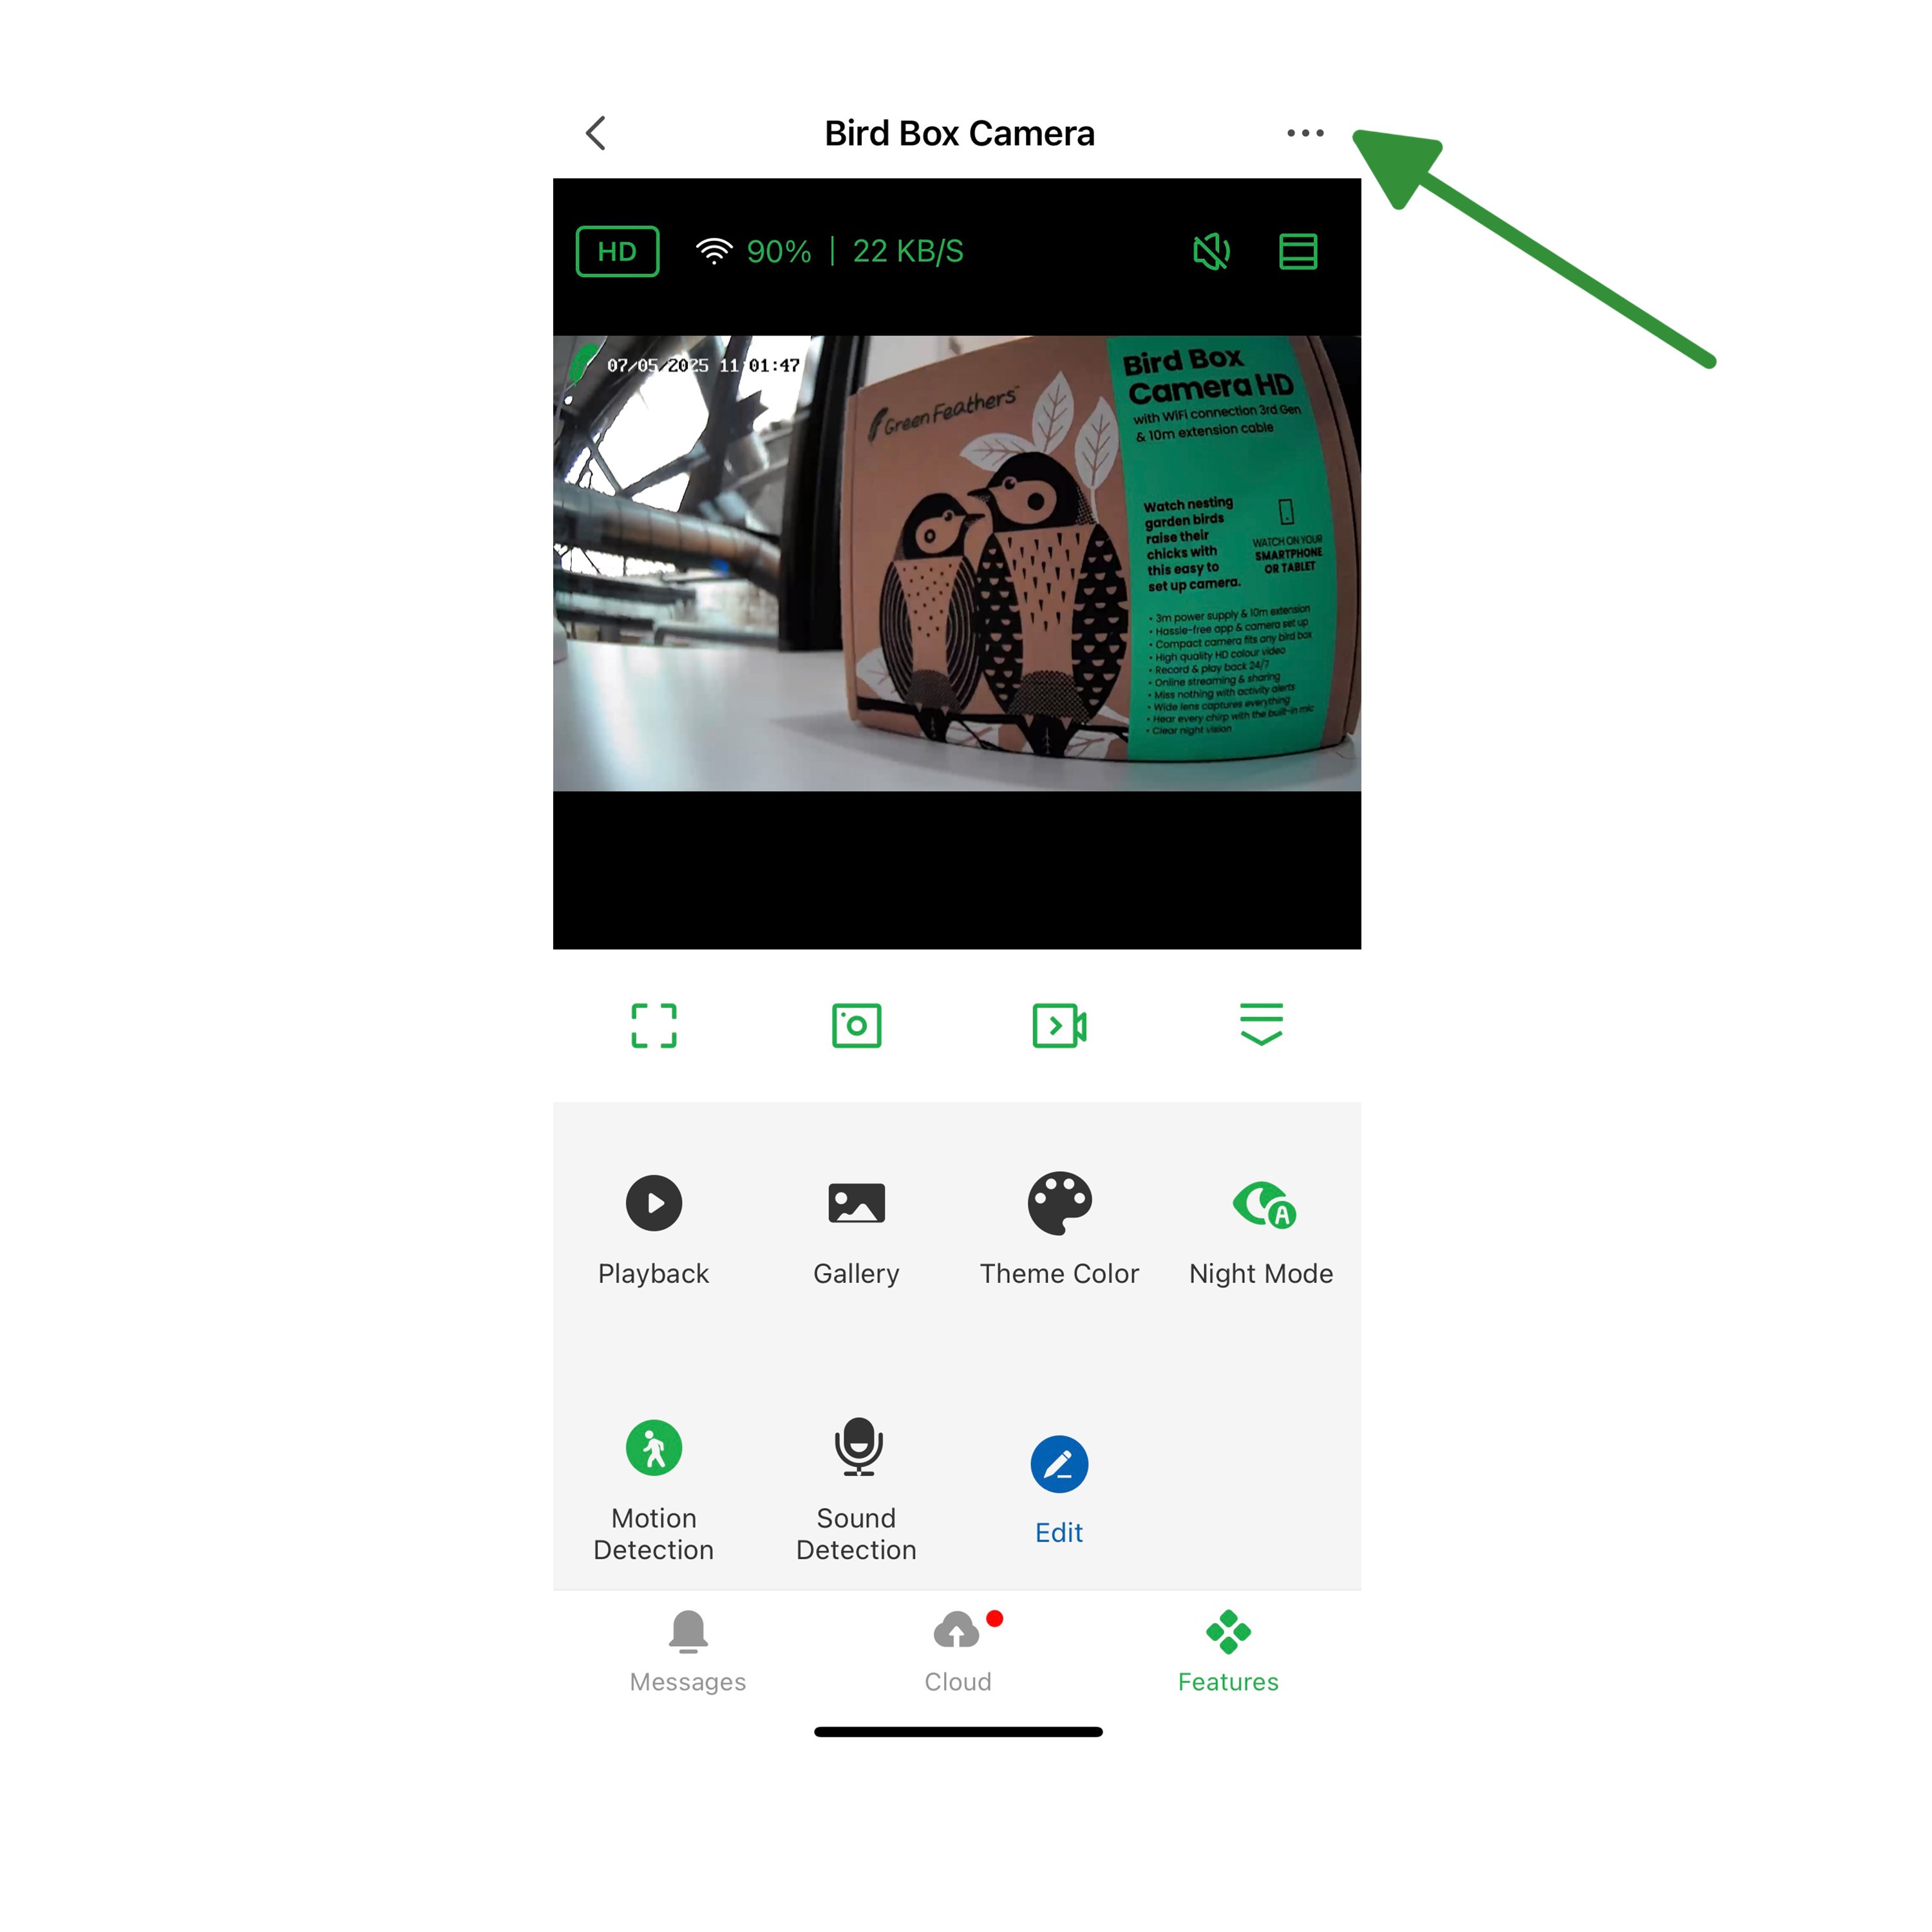
Settings information:
Now let's have a look into the camera settings, see the screenshot below, you want to click on the three little dots in the top right. Once you've done this, have a look here for information on the settings page.
Need more help?
If you need help with anything else please check out our other guides or get in contact.