
How to: Set up your Wired IP Camera on an Apple or Android smartphone/tablet (NCIP2, NCIPEVO)Updated 15 days ago
This guide shows you how to set up your Wired HD IP Bird Box Camera (picture below) so that you can watch wildlife footage on your phone or tablet whether you're at home or on the go. If you are unsure of which camera you have, please have a look here.
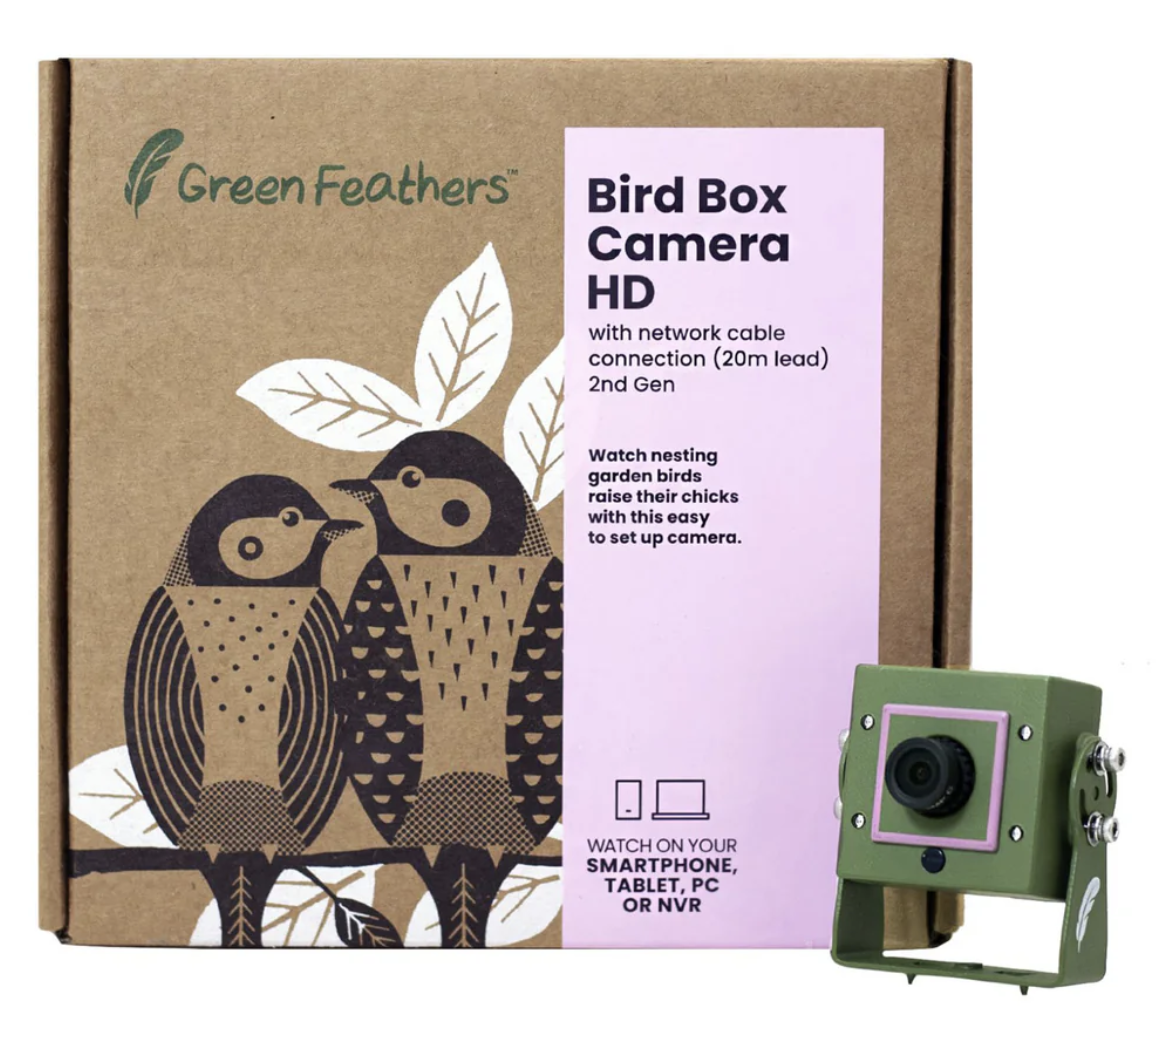
2nd Gen Wired IP Camera (NCIP2, NCIP9, NCIPEVO)
Before you begin
Install the ICSee Pro app on your mobile phone or tablet.
Android device click here
iPhone or iPad click here
Wire up the camera and connect it to the network, have a look at this guide here on how to do this.
Setup video
If you prefer a video, watch George run you through the setup:
How to connect a daytime bird box lamp (optional)
If you have purchased a daytime bird box lamp to go with the camera kit, you have two ways of powering it, depending how the camera is being powered.
POE Injector
If you are using a POE injector to power the camera, then you can simply connect the male 'power out' jack on the daytime bird box lamp into the female 'power in' jack on the camera. The reason this works, despite the lamp being connected to what would normally be the jack for the camera to receiver power, is because the camera receives both an internet connection and power from the POE injector, via an ethernet cable, which allows it to then supply power via the female port on the camera.
12V mains power supply
If you are using a standard 12V power supply to power the camera, you can connect the power supply into the female 'power in' connector on the bird box daytime lamp. Then connect the male 'power out' jack into the female jack on the camera, allowing both to be powered by a single power supply. Remember that you will also need to connect an ethernet cable to the camera to allow it to connect to the internet.
Connecting it to the internet
Here's a quick setup guide to using the app.
First open ICSee Pro on your device.
1. On the home screen you will need to login or create an account if you have not done so already.
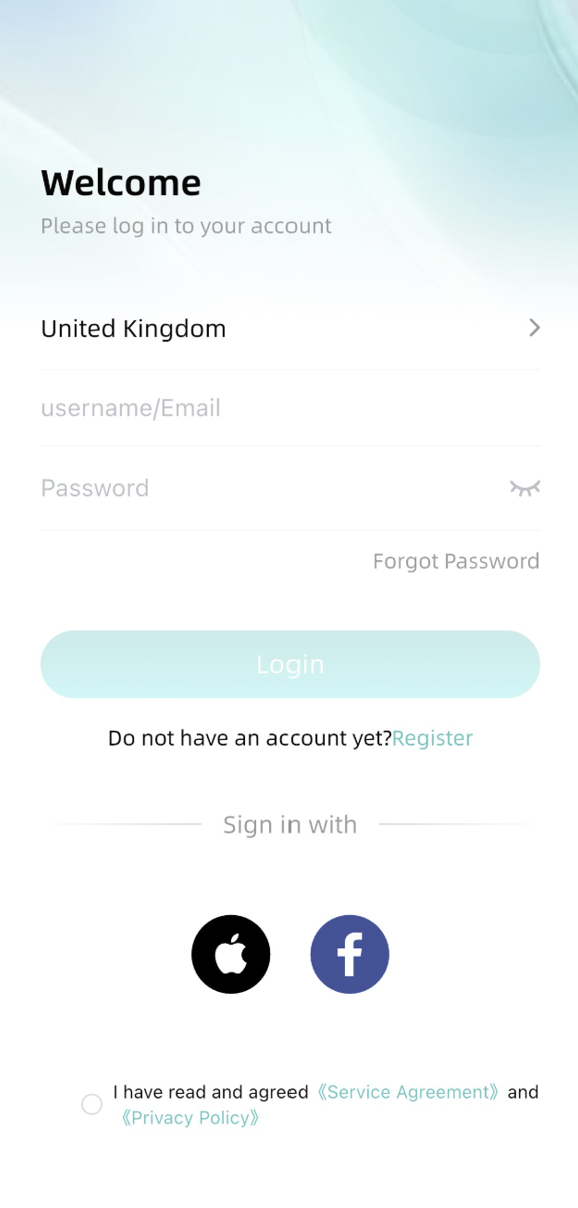
2. Once you have completed this and logged in, please make sure that your phone is nearby your camera and select the option to ‘Add Device’ followed by ‘Nearby Camera’.
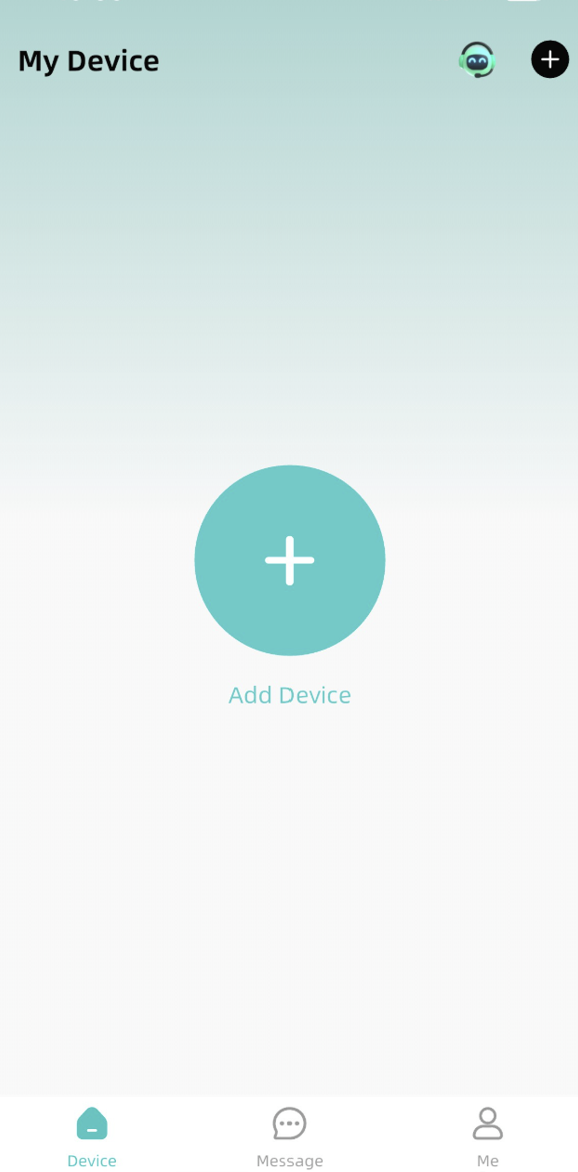 | 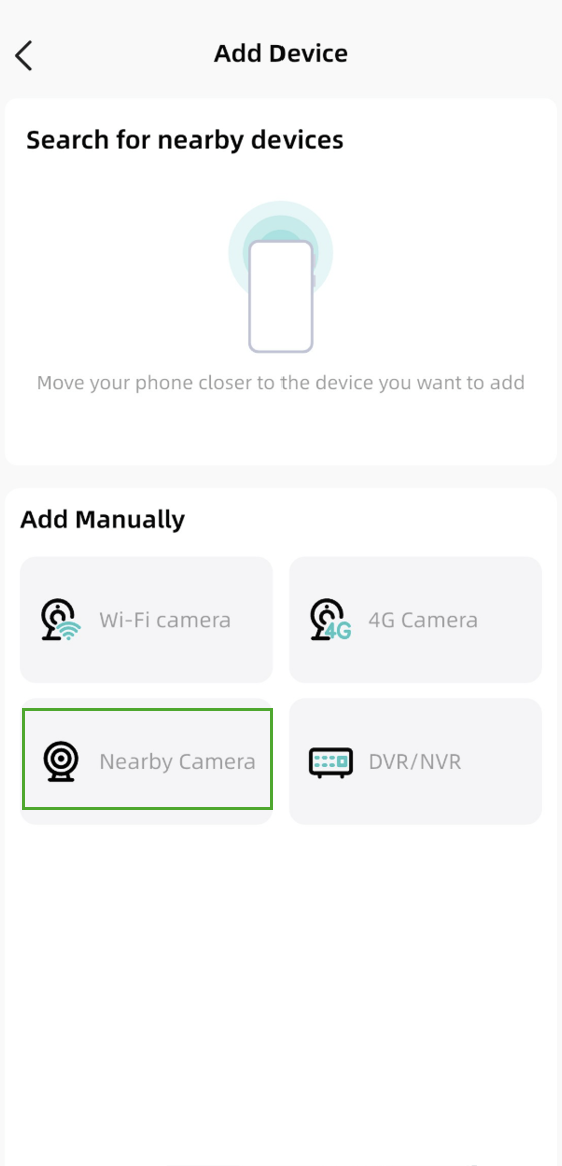 |
3. The phone will then do a search for nearby devices and locate your camera; this may take a few seconds.
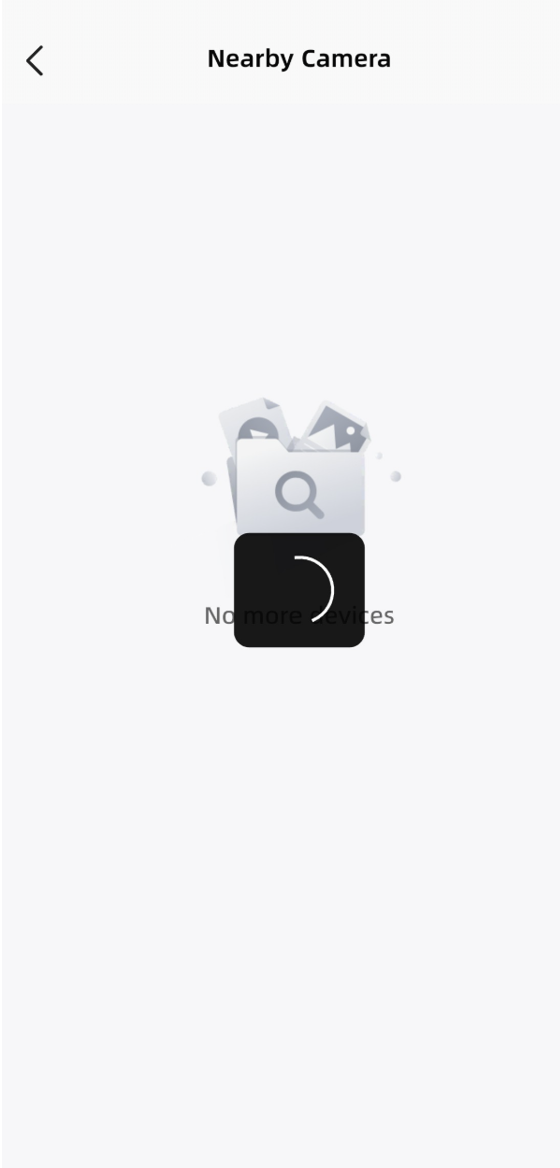 | 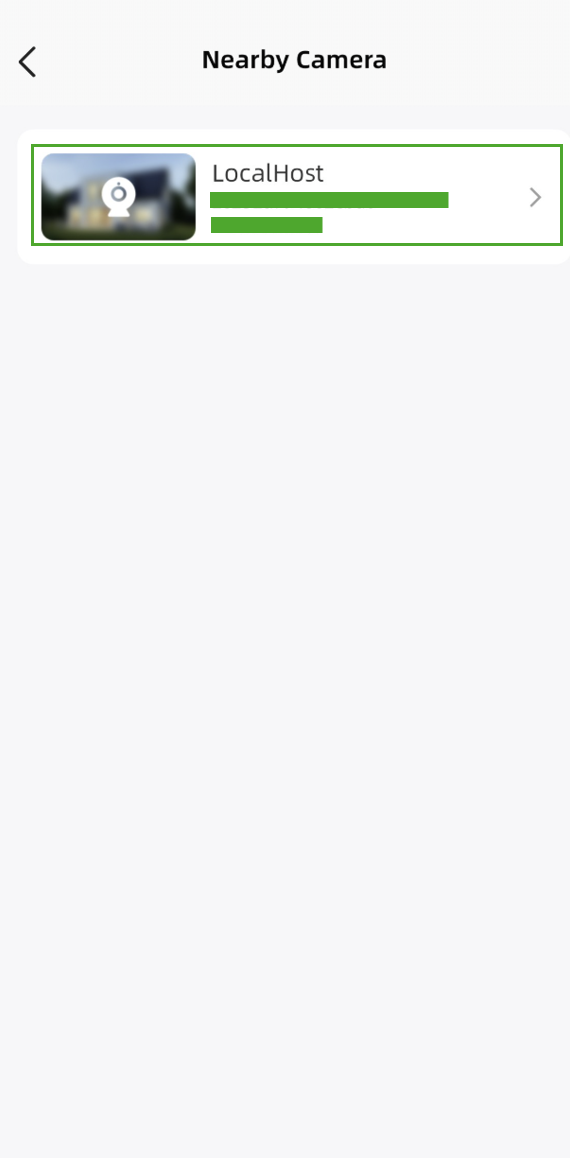 |
4. Once your camera has been located, you will be able to click on it then select the settings icon on the right-hand side to change your camera’s name and password.
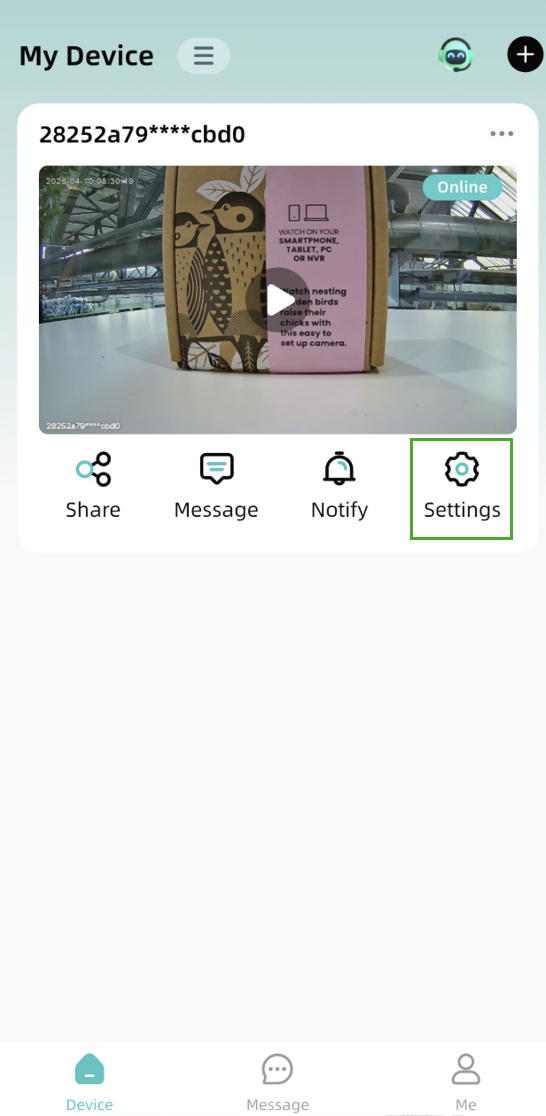 | 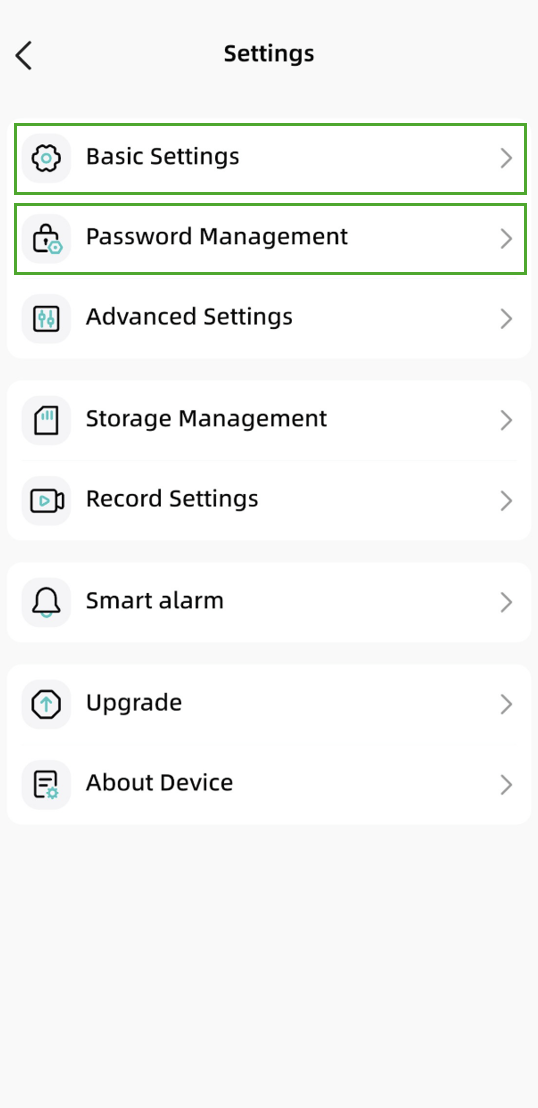 |
5. You can change the name of your camera by selecting ‘Basic Settings’. We would also recommend changing the password for your camera under ‘Password Management’. If you have not yet set a password, simply fill in the two new password fields (you will not need to enter an old password). Please see screenshots below for reference.
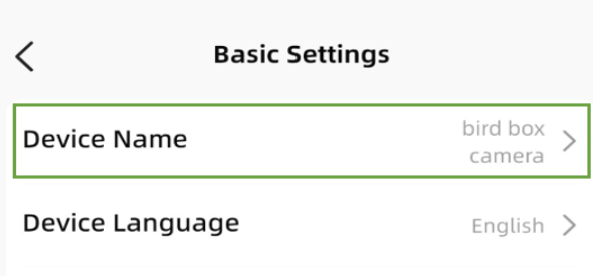 | 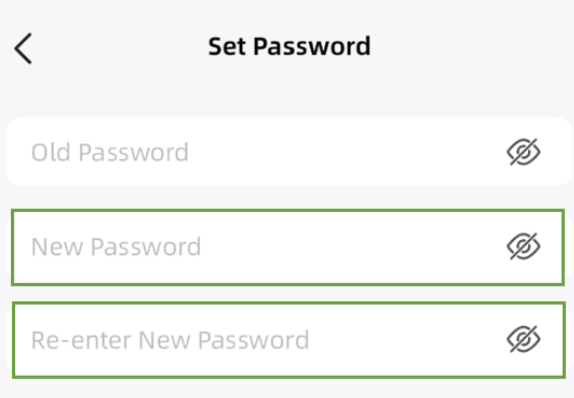 |
6. Once completed, press the back arrow in the top left corner to get back onto the device screen and select play on your camera to get onto the live view.
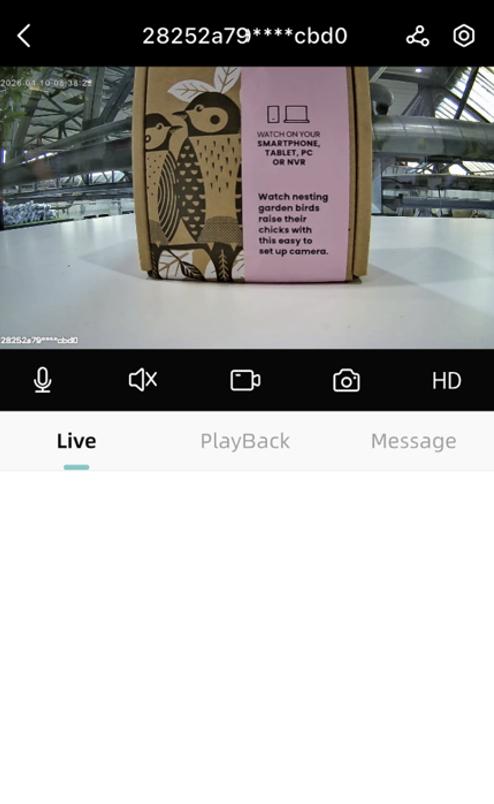 If for any reason your camera is not working remotely after completing this, it may be to do with your camera settings. We would therefore recommend following this guide before repeating these steps.
Need more help?
If you need help with anything else please check out our other guides or get in contact.