
Why has my Solar Wi-Fi bird box camera gone offline? (GFWF3R1S1)Updated 15 hours ago
This guide will help you troubleshoot the cause of your Solar Wi-Fi camera going offline and hopefully help you get it back online. If you are not sure what camera you have, please check here.
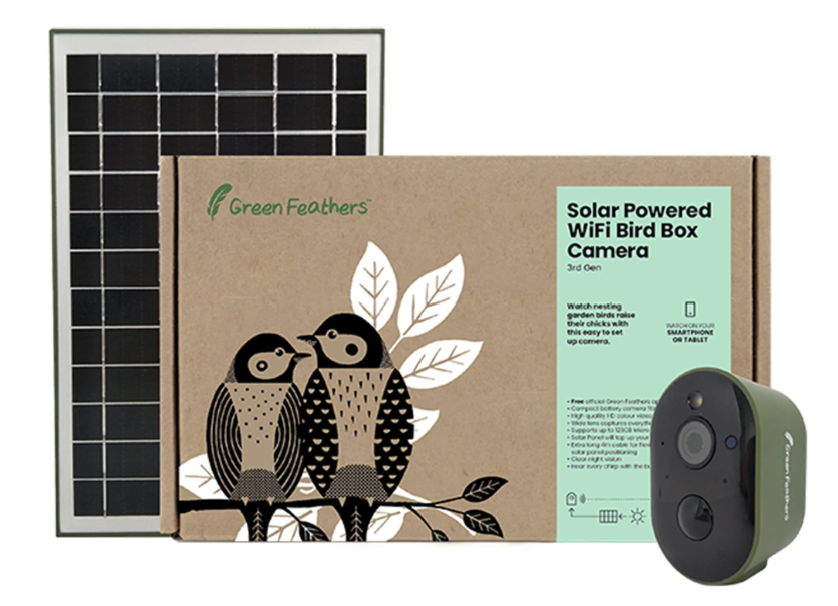
We will be checking everything that is involved in making the camera work. If this is your first time setting up your camera:
- Follow this guide here to get your camera set up for the first time.
- Try taking your smartphone/ tablet to the site where you plan to install your camera; if it has a weak signal at the installation site then the camera may struggle to maintain a connection.
- If you do find that the internet signal is lacking where you want to place the birdbox, we have plenty of options for boosting your Wi-Fi signal available on our website. If you would like some advice on these products please contact us here for more information.
If you have already installed your camera but it has gone offline, please follow the steps below:
Check your internet
- Make sure the Wi-Fi router, Wi-Fi extender, or Wi-Fi bridge that the camera is connected to is still on; most people use Wi-Fi devices, so it is normally obvious if your Wi-Fi router has been turned off or stopped working.
- If you have recently replaced your internet router or reset your current one, you will need to reset the camera and re-connect it to your new Wi-Fi using the set up guide here.
Check your phone/tablet/computer
- Make sure the device you're using to view the camera is still connected to the internet.
- Try viewing the camera on a different device; if this works then the issue likely lies with the device you were using previously.
Check the connections
- Check that the solar camera is connected to the solar panel via the 4-meter cable.
- Inspect any wires to check they haven’t been cut at any point along the length.
- If you are using a solar panel extension cable to keep your solar panel topped up, check that there is no damage to any of the connections.
Check the solar panel
- Check that the solar panel is turned on (the switch for this can be found under the rubber grommet on the side of the solar panel).
- It may simply be that your camera has run out of charge, particularly if it has not been very sunny. We would therefore recommend connecting your solar panel to power using the Micro USB cable, then connecting it back up to the camera. A full recharge from flat will take between 18-20 hours.
The Solar panel has LED charging indicators under the rubber grommets. They show the following:
- Red Light - Currently receiving power from cable connection or the sun (this appears on the USB port side)
- Blue Light - Fully charged (this appears on the ON/OFF switch side)
Check the camera
- Have you recently moved your camera, or did it have low signal? If so, we would recommend moving your camera closer to your WiFi router to see if it reconnects successfully.
- Check that the camera is turned on (the switch for this can be found under the rubber grommet on the bottom of the camera).
- We would recommend connecting your camera to power using the USB-C cable. A full recharge from flat will take 6-8 hours.
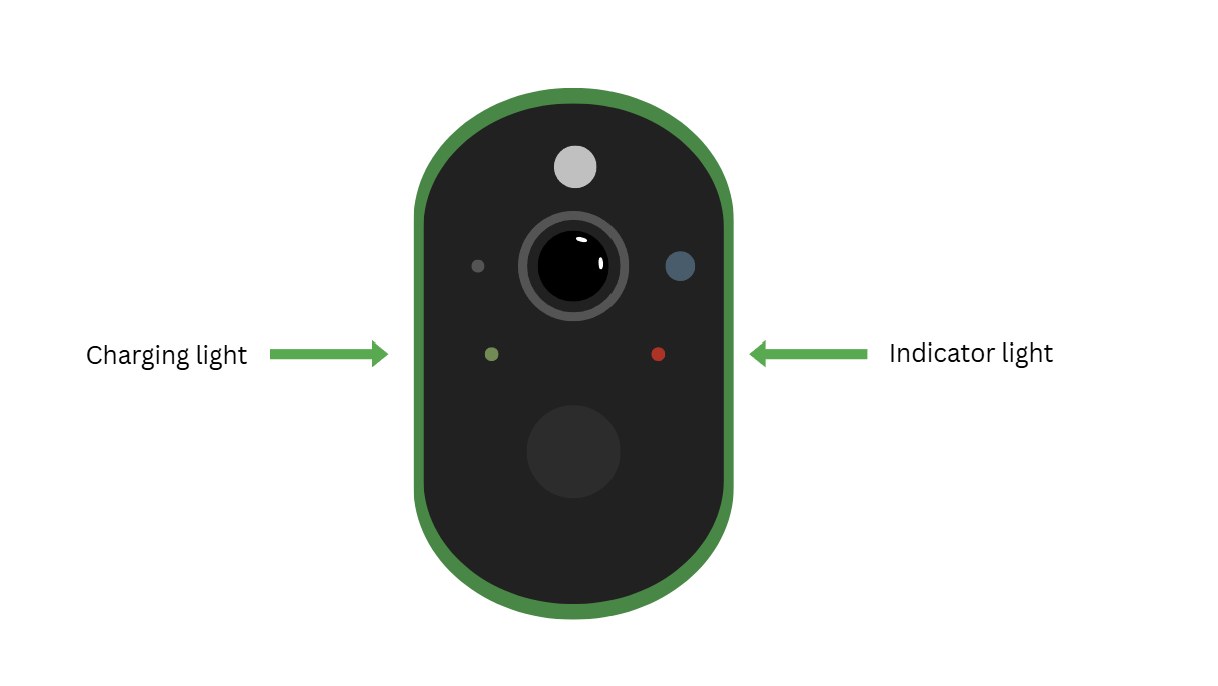
The camera has lights on the front of it which show the charging status and indicate the camera's connection.
Charging light:
- Solid Red Light – charging
- Solid Blue Light – fully charged
Indicator light:
- Red light fast flashing: Waiting for config
- Red light slow flashing: Lost/losing wifi
- Blue light slow flashing: Connected
- Blue light fast flashing: Firmware updating
Try resetting and setting the camera up again
- If the camera is still receiving power and lights are displaying on the front of it, but it does not connect, it is a good idea to try resetting the camera and setting it back up again. To do this you will first need to remove the camera from the app as described below:
- Firstly, go onto your Green Feathers app home page
- From here, press and hold the thumbnail of the camera that you want to remove
- A tick should appear next to the camera once it is successfully selected
- After this, select the option to ‘Remove Device’ in the bottom right-hand corner (you may need to scroll across to see this option).
- Next, re-add the camera by following these instructions.
If you have a WiFi extender
- If you have a WiFi extender in place, always try and make sure that the extender has its own Access point (with its own SSID). This means that when you set up your camera, it can be connected specifically to the extender. If your WiFi extender and your main router are under the same name, the camera could be looking for the furthest away connection, causing the camera to drop offline.
Need more help?
If you need help with anything else please check out our other guides or get in contact.