NCIP2 not working remotelyUpdated 5 months ago
To fix an NCIP2 not working when not on the same network, it often requires changing some of the network settings on the camera, to do this you will need a computer and a piece of software called VMS, which will be available on the below links.
Windows: VMS for Windows
Mac: VMS for Mac
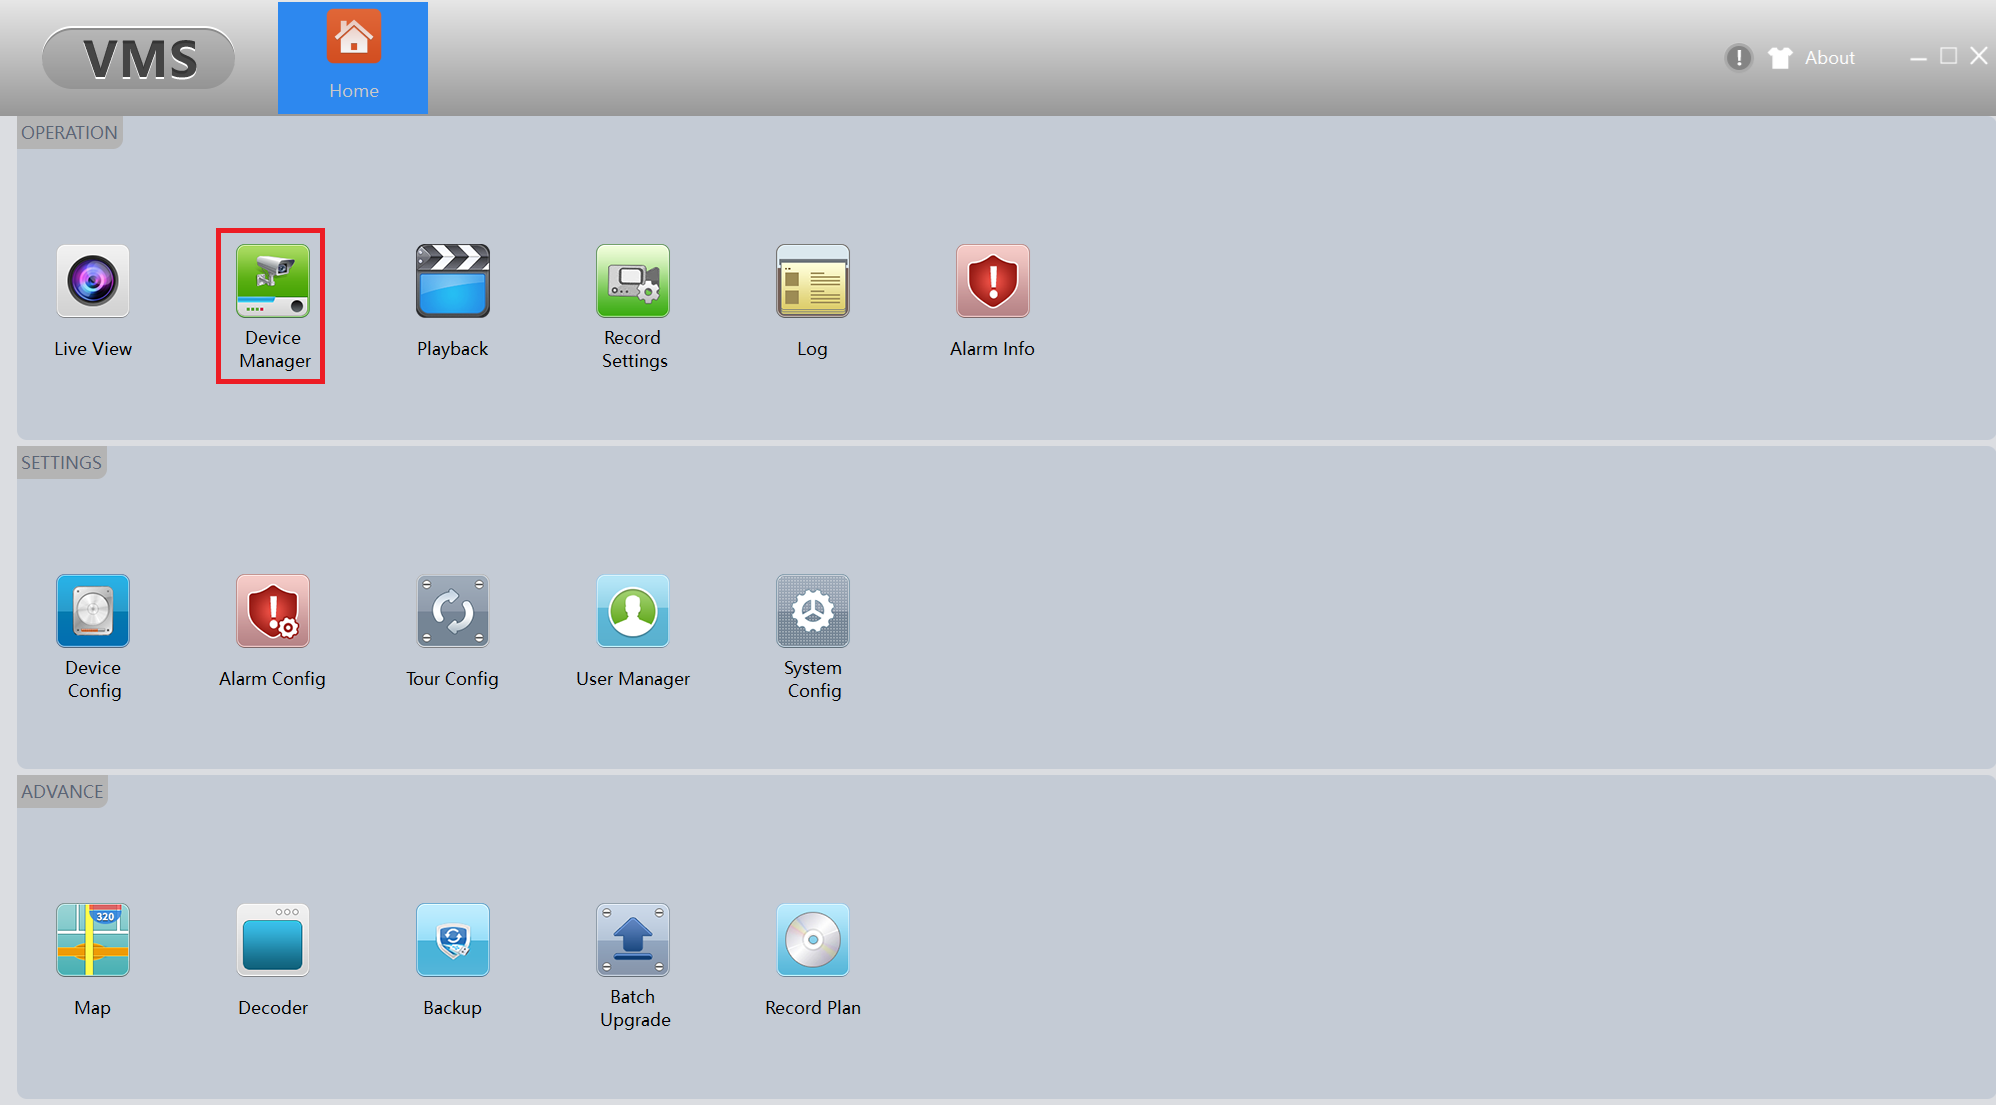
Once you have the software downloaded and installed, please run it, you will need to start by adding the camera to the software, to do this you will want to select Device Manage on the top row.
This will load up a new window where it should search for your camera and show it in the online section, it will look something like below.

In the above picture it has found a few different ones, however the ncip2 is the top one with the cloud id, you would then want to tick the little box on the left of it and click the add button, this should then add the camera for you, give it a moment and it should show online in the lower section.
If this has all worked you will then want to click the Home button at the top and then find the Device Config button which is the 1st icon on the middle row.it will then load a page like below.
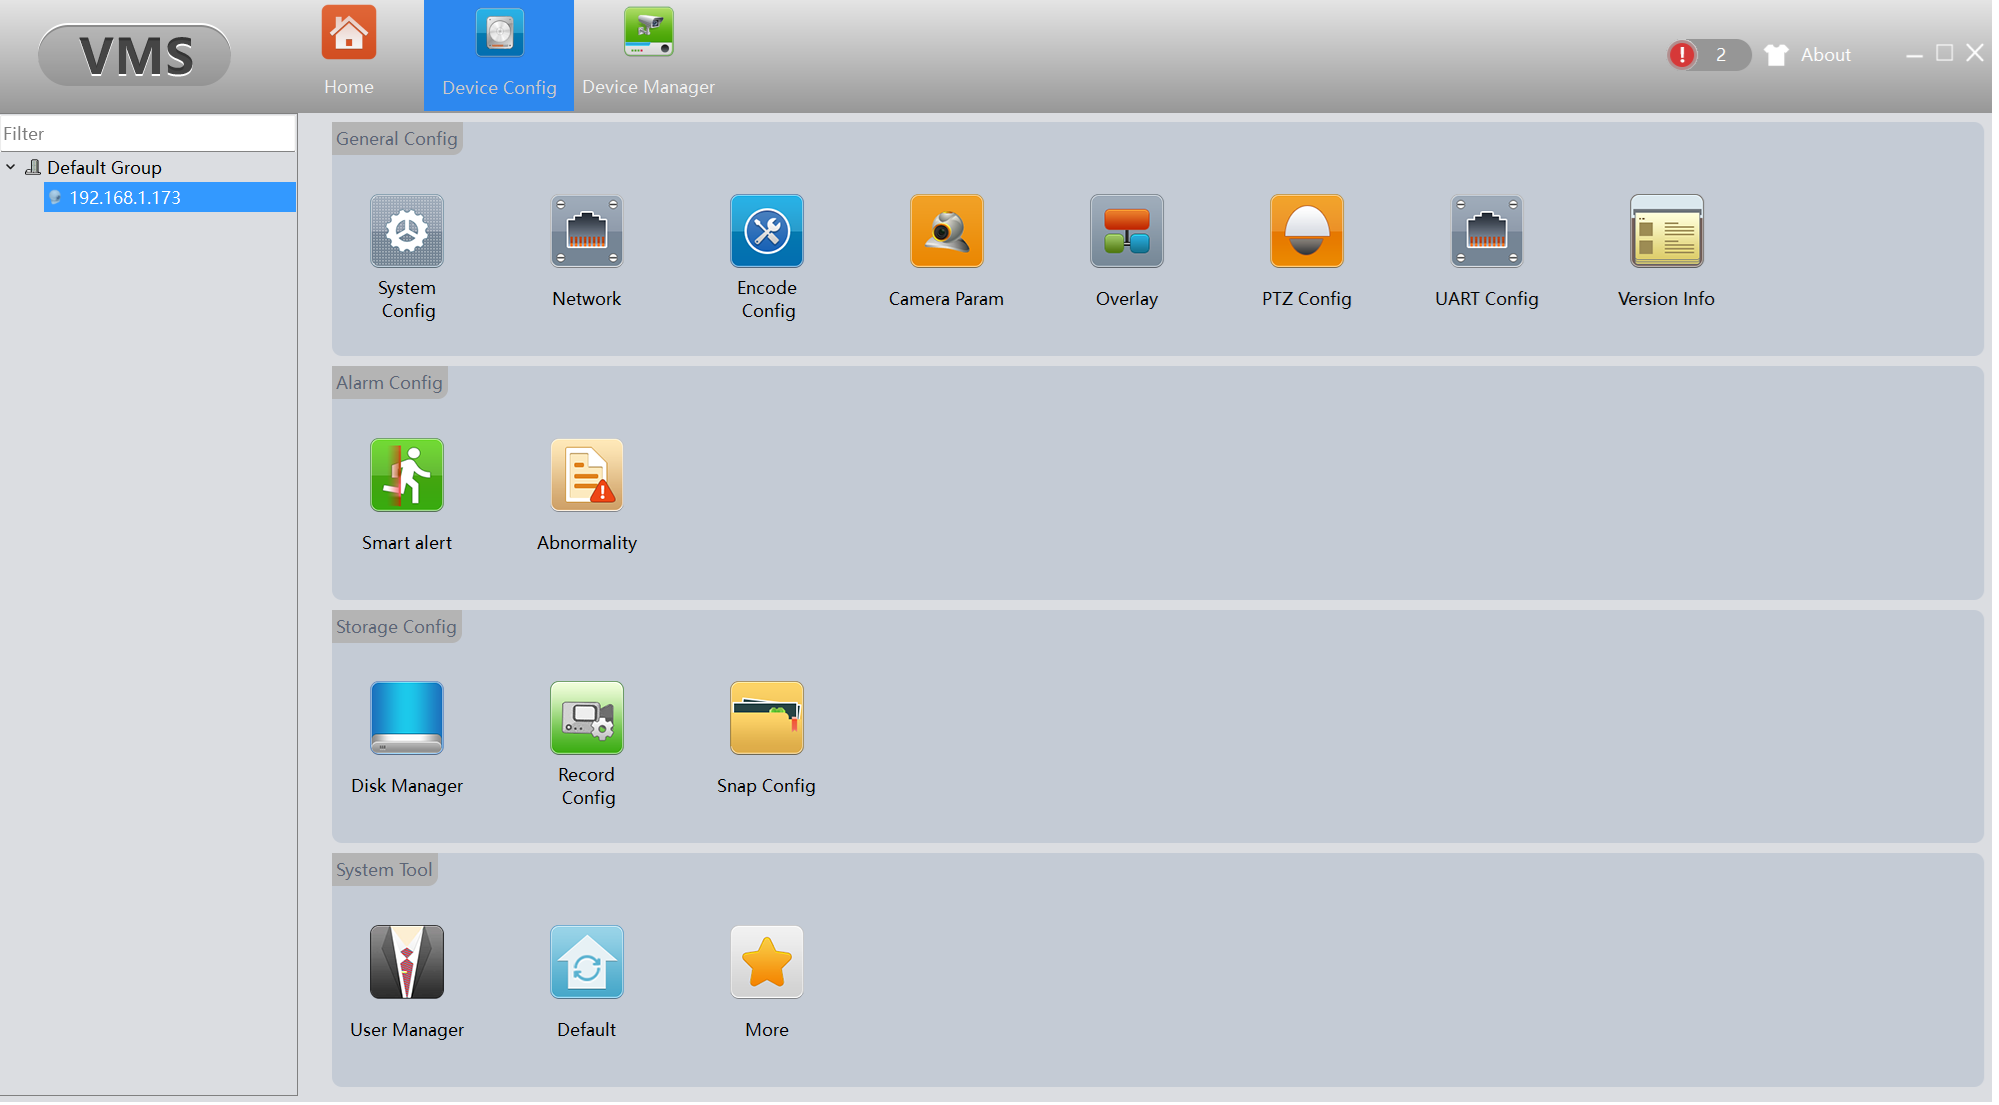
On this page you will want to select your camera on the left hand side and then click on the Network icon, 2nd icon on the 1st row.
Once into the network settings you will want to make sure Enable DHCP is ticket and then click Apply at the bottom right.
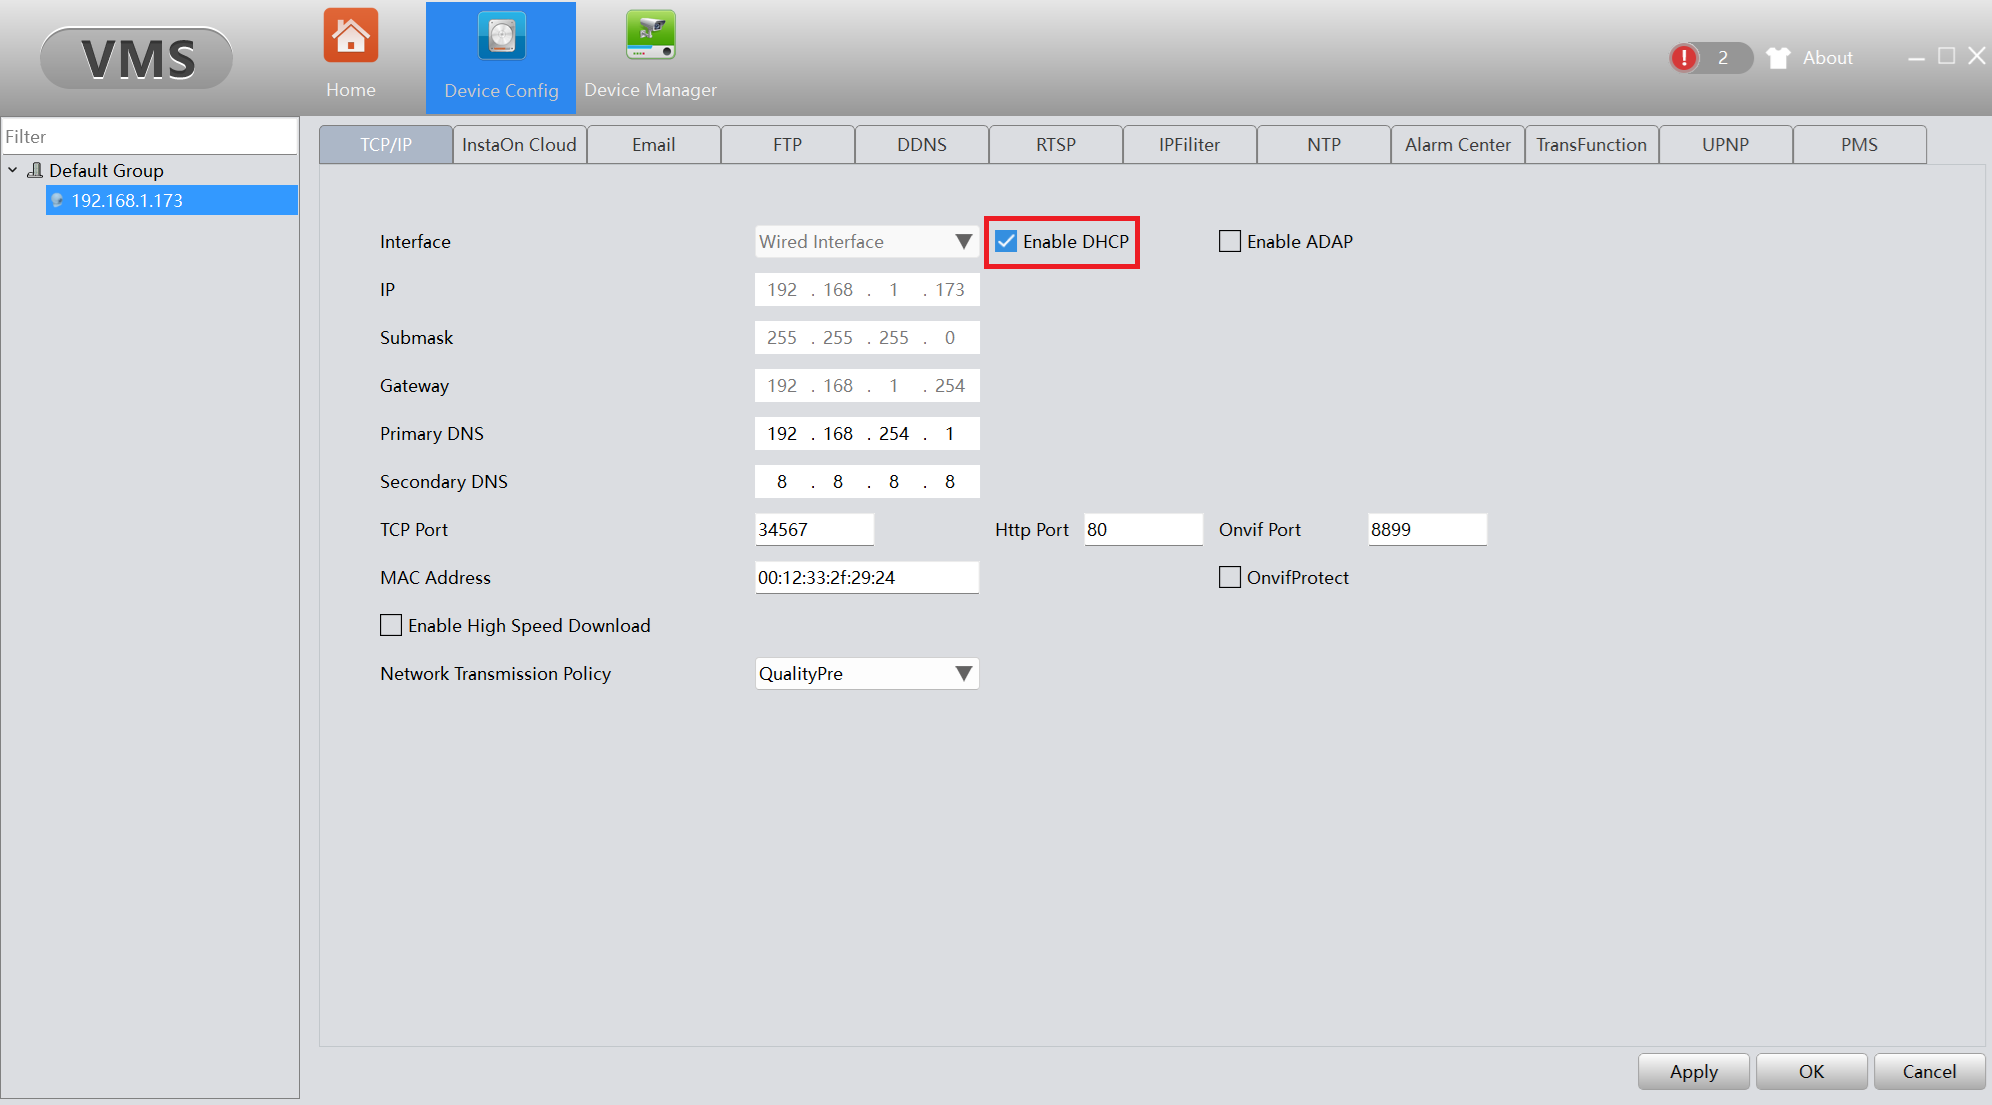
Once the camera reboots with any luck this will fix it so that it works when you are remotely trying to access it.