How to: Insert SD card (GFWF3/NCIP3WF, GFIP320BWF, GFWFR1S1)Updated 6 months ago
This guide will show you how to insert a micro SD card in your camera.
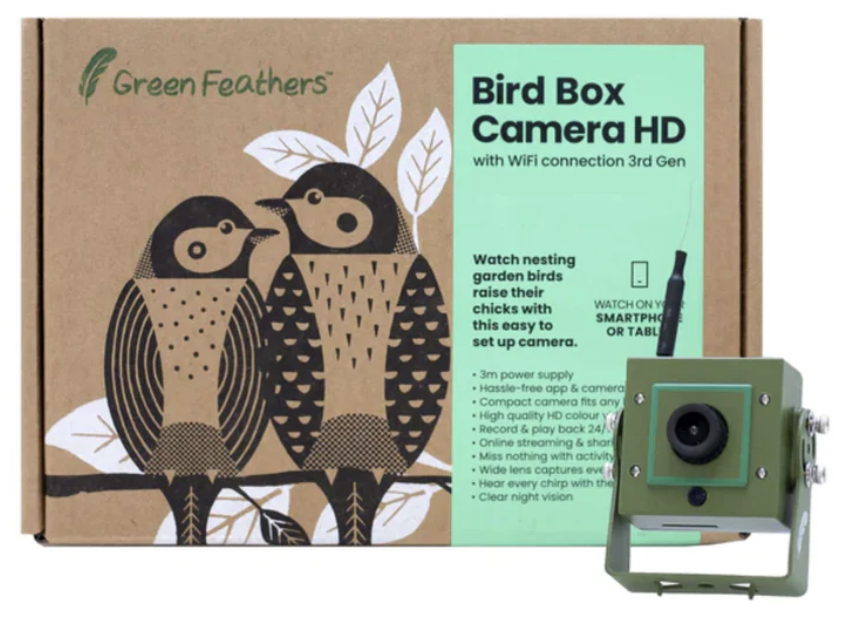
There are a few different kinds of cameras that are compatible with an SD card, please do check which camera you have. This guide is for the 3rd Generation Wi-Fi Bird box Camera (GFWF3), Wildlife Bullet Camera (GFIP320BWF) and the Solar Camera (GFWFR1S1), see below. If you are unsure of which camera you have, please check here.
 | 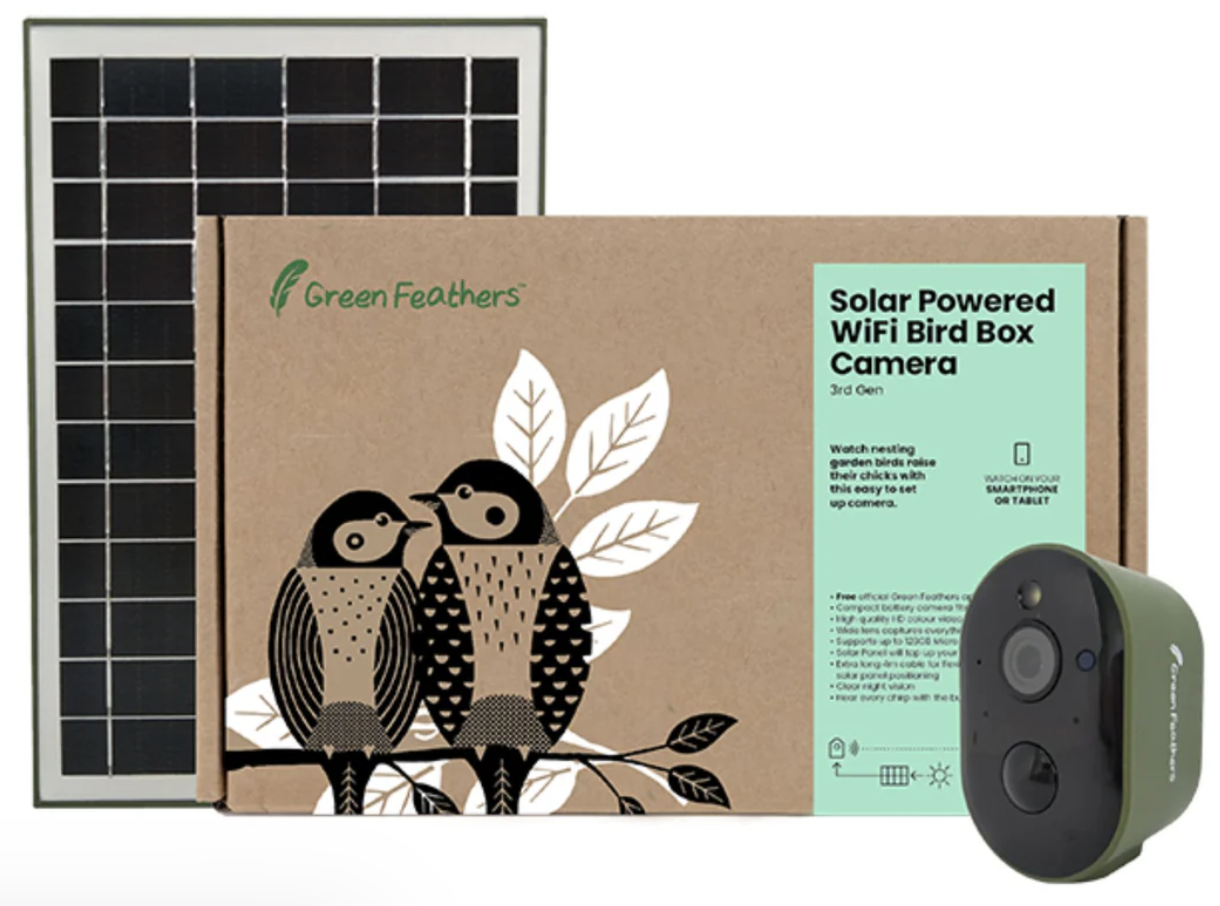 Solar Powered WiFi Bird Box & Wildlife HD Camera (GFWF3R1S1) Solar Powered WiFi Bird Box & Wildlife HD Camera (GFWF3R1S1) |
 | |
Please note: For all cameras, we recommend formatting the card before putting it in the camera.
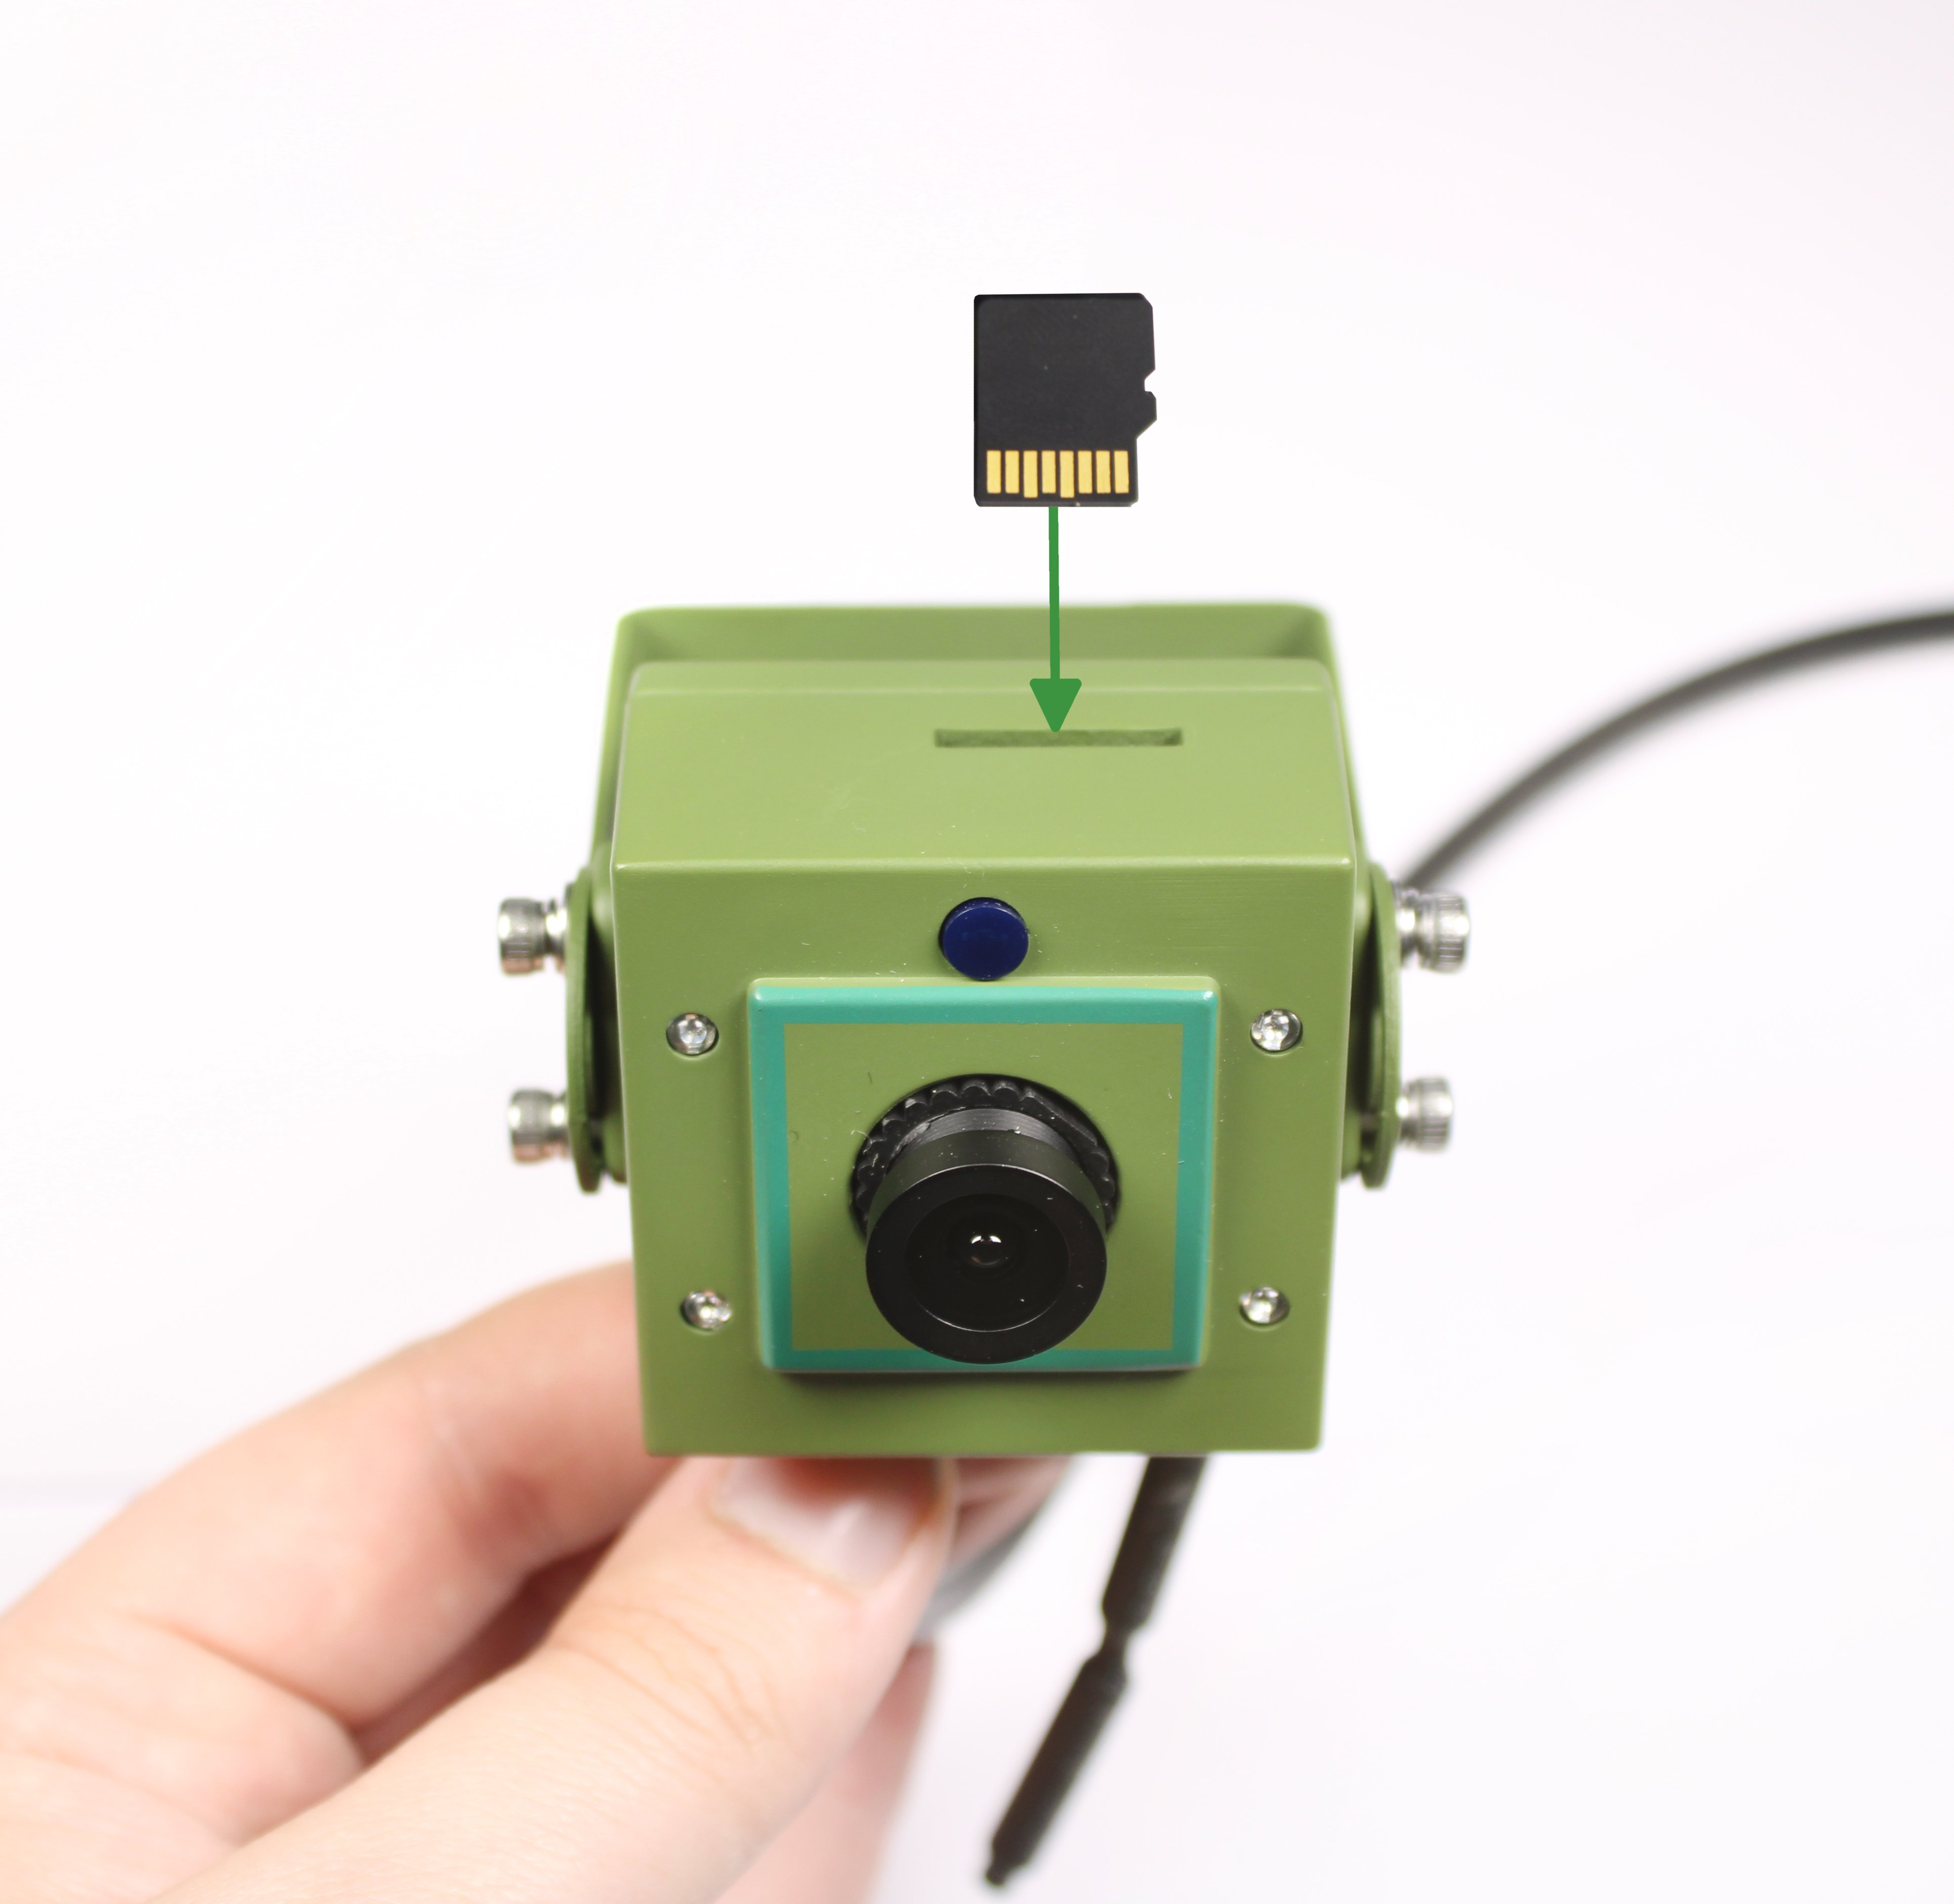
Inserting SD card in 3rd Generation Wi-Fi Bird Box Camera (GFWF3) -
To insert the SD card, you want to have the camera lens facing you. There is an SD card slot on the underside of the camera (this will be the side directly opposite to where the cable and antenna come out).
Get your SD card and make sure you have just the micro SD card and not the standard SD adapter that some of them come with. You want to have the metal bars facing you, in the same direction as the camera lens. Now look at the hole for the card, you will see the SD card slot in there, there is some room around the slot, so do be careful not to put it in there. If you do, this is not an issue, you can remove the back of the camera and retrieve the SD card if it does accidentally fall in there, please contact us if you are unsure.
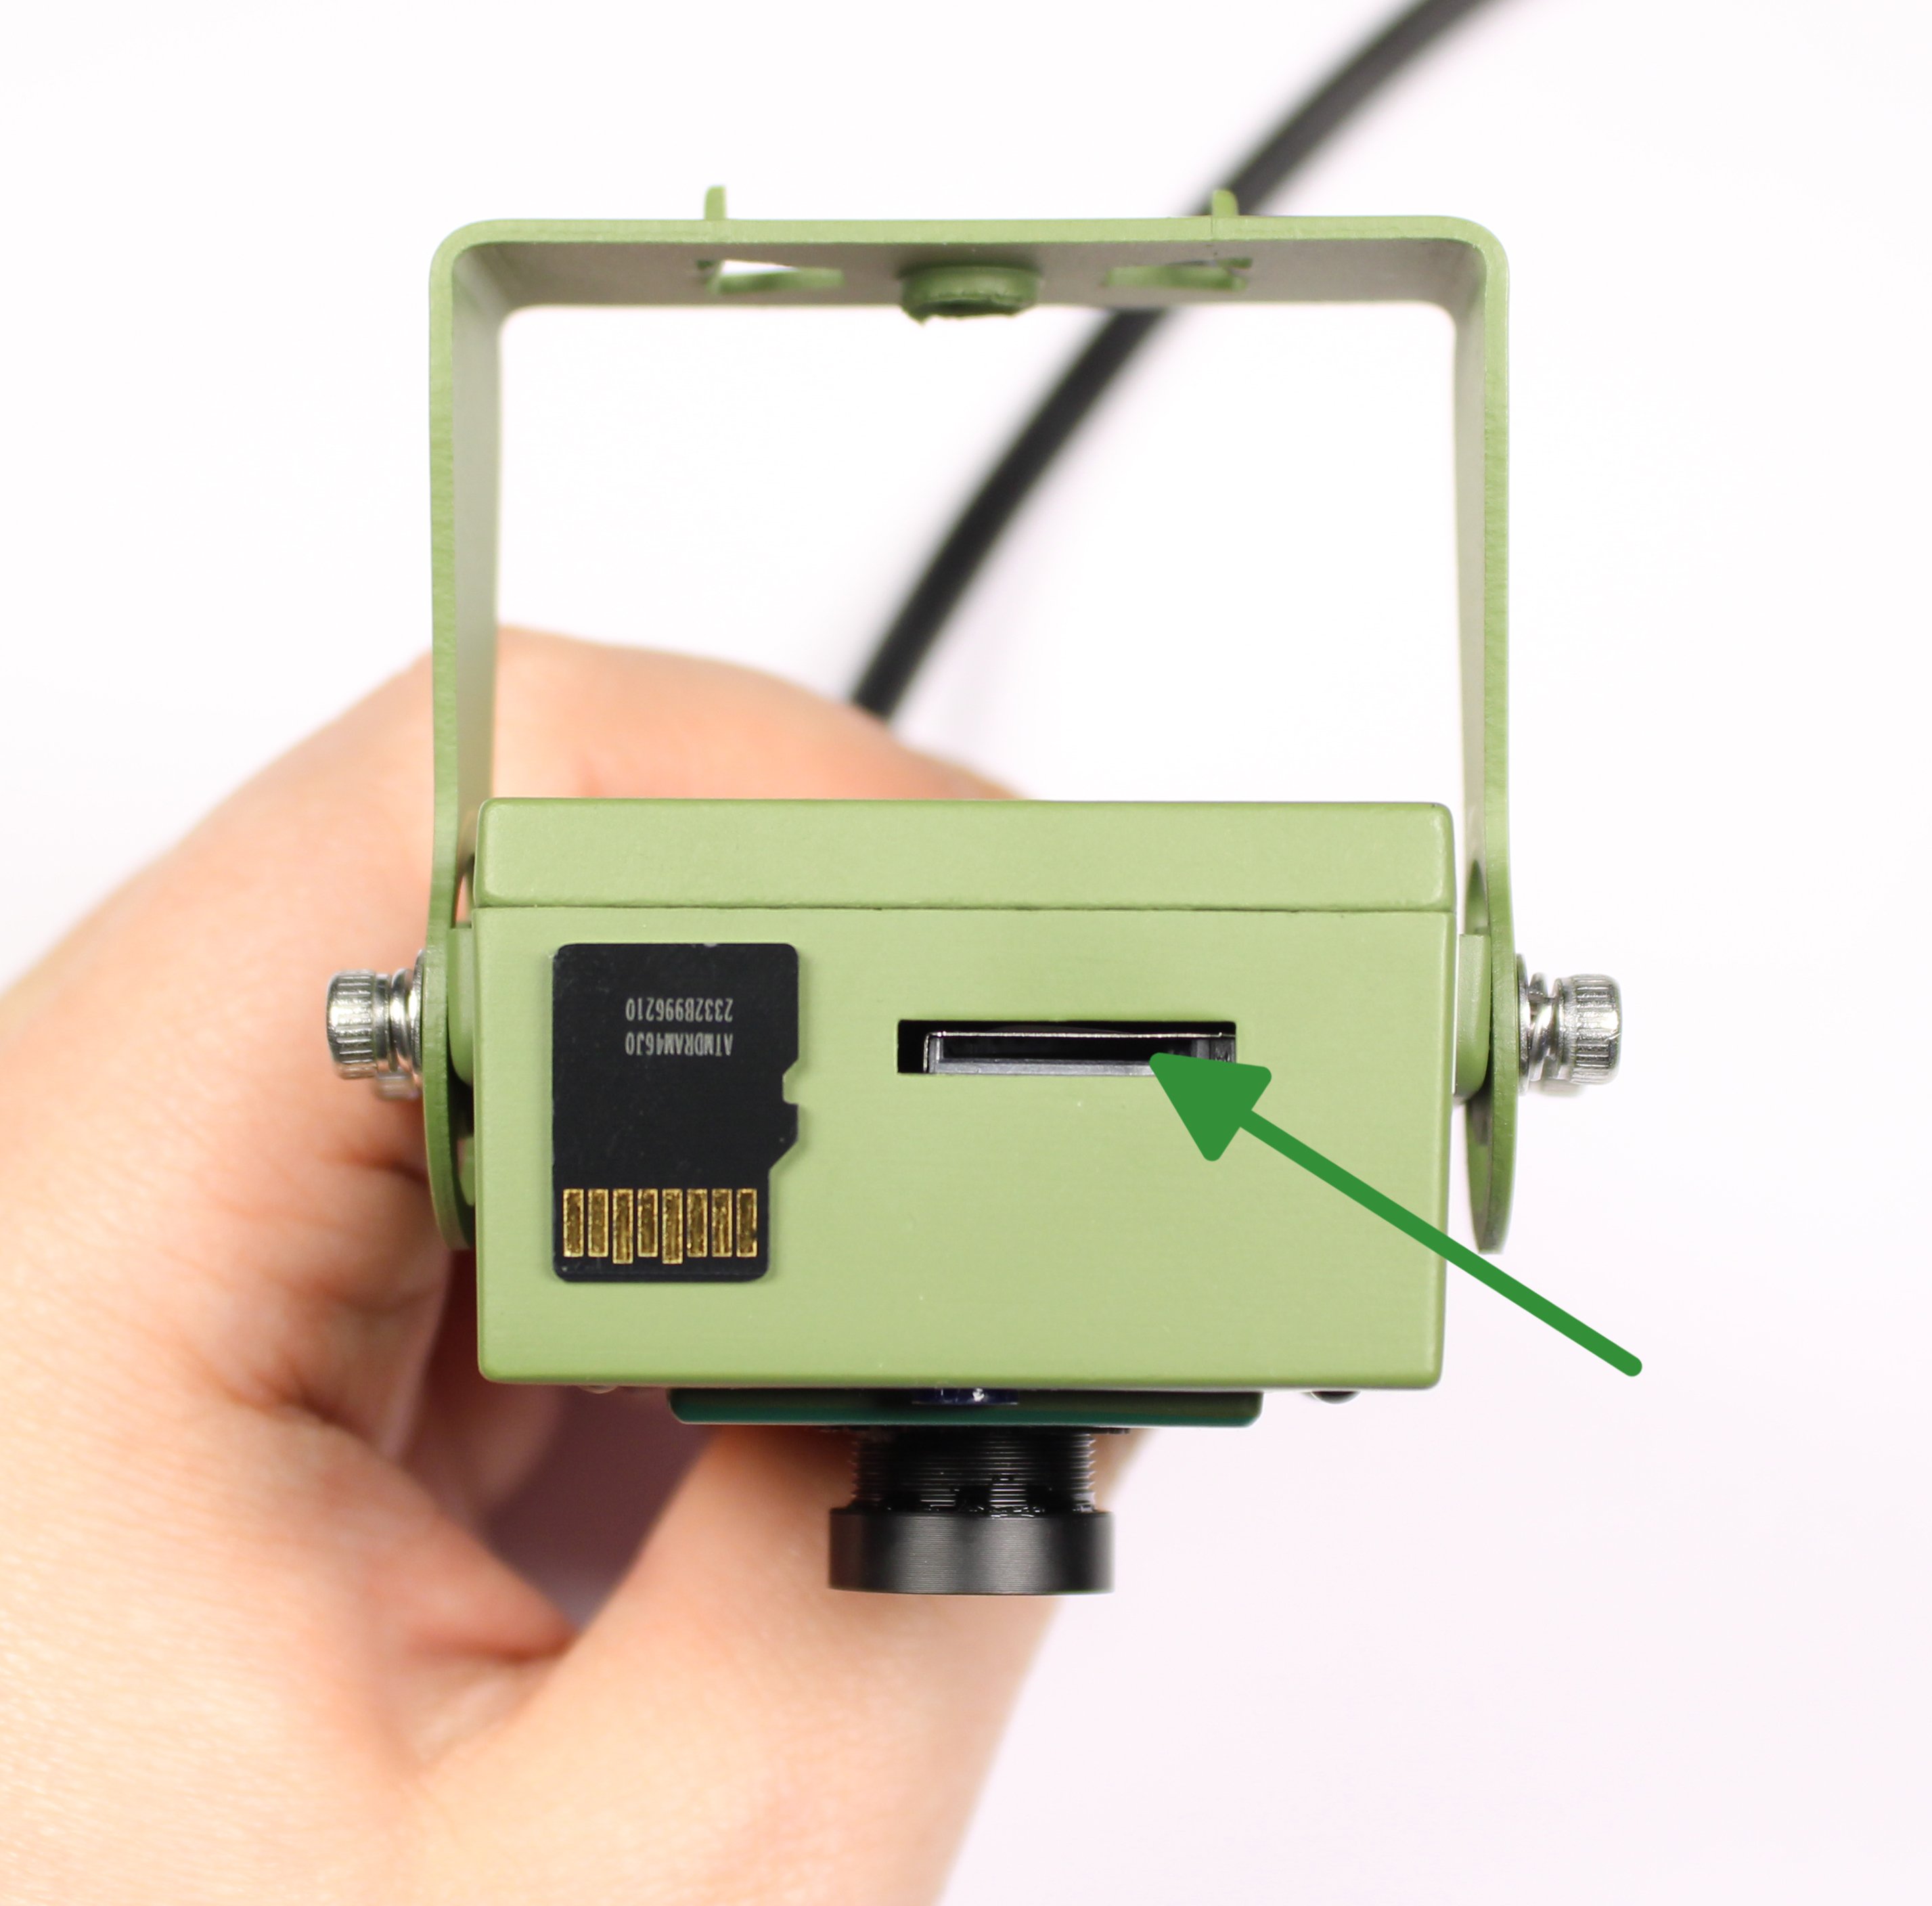 |  |
Once you have put the SD card in the slot, you will need to push it in until you hear a click. There will be some resistance as it has a spring mechanism. Once it has clicked, the card will be held in place.
Now connect the camera to the app and check to make sure it has registered the SD card by going into the camera settings and there will be an option for 'Storage Settings' select that one and it will tell you how much space on the card is left, if this option is not there, the camera has not registered the card. If it has not registered, you will need to format the card if you haven't already. Once it has been registered in the camera, pop the 'Memory Card Dust Cover' over the hole and make sure it is covered and stuck down properly, now you're done!
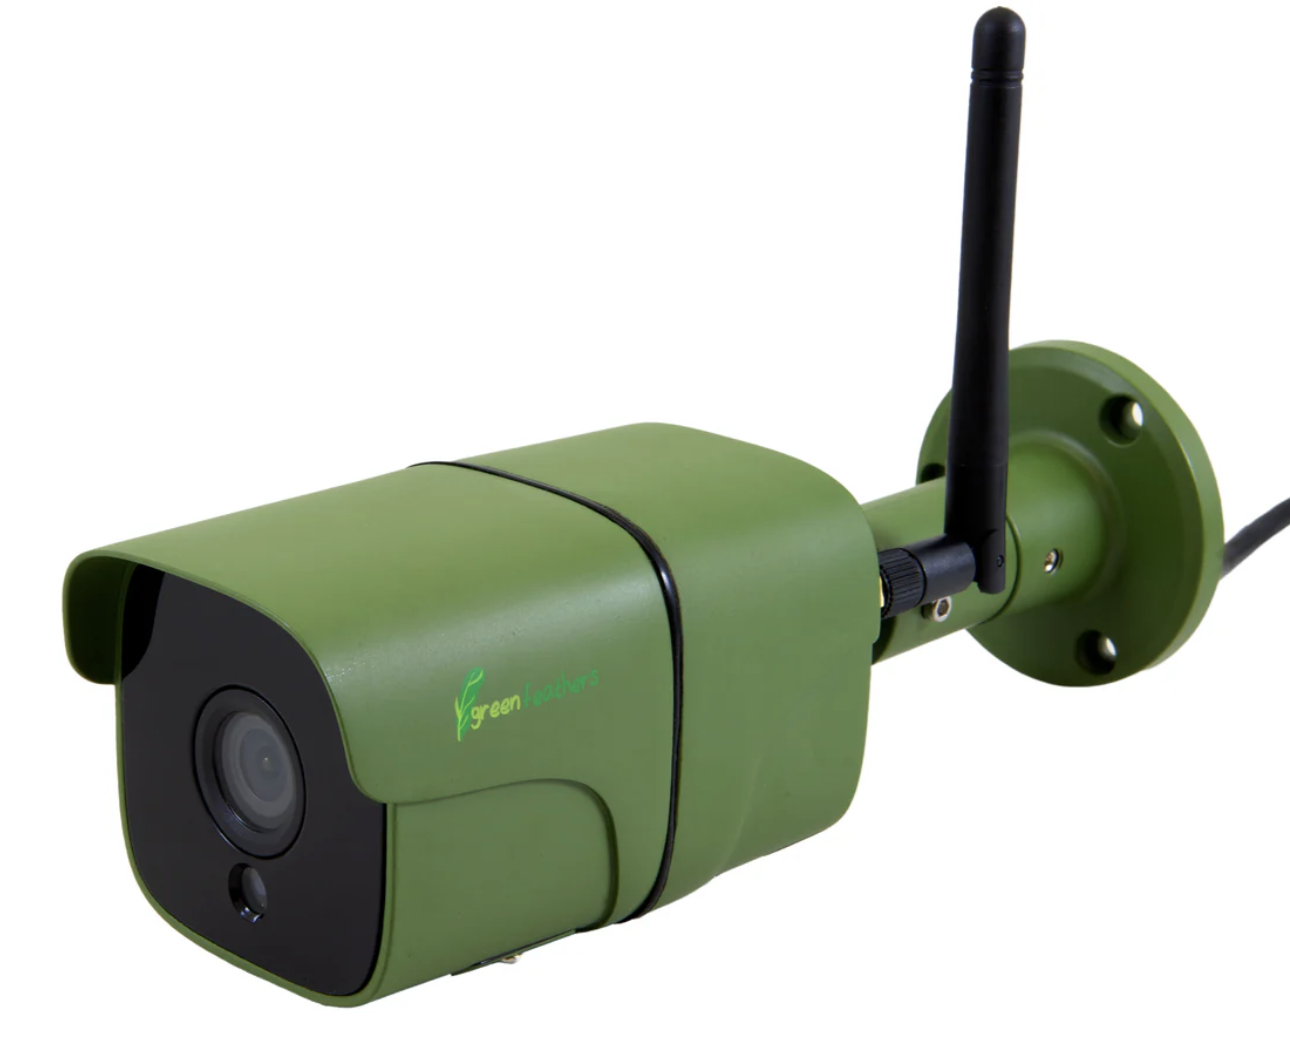
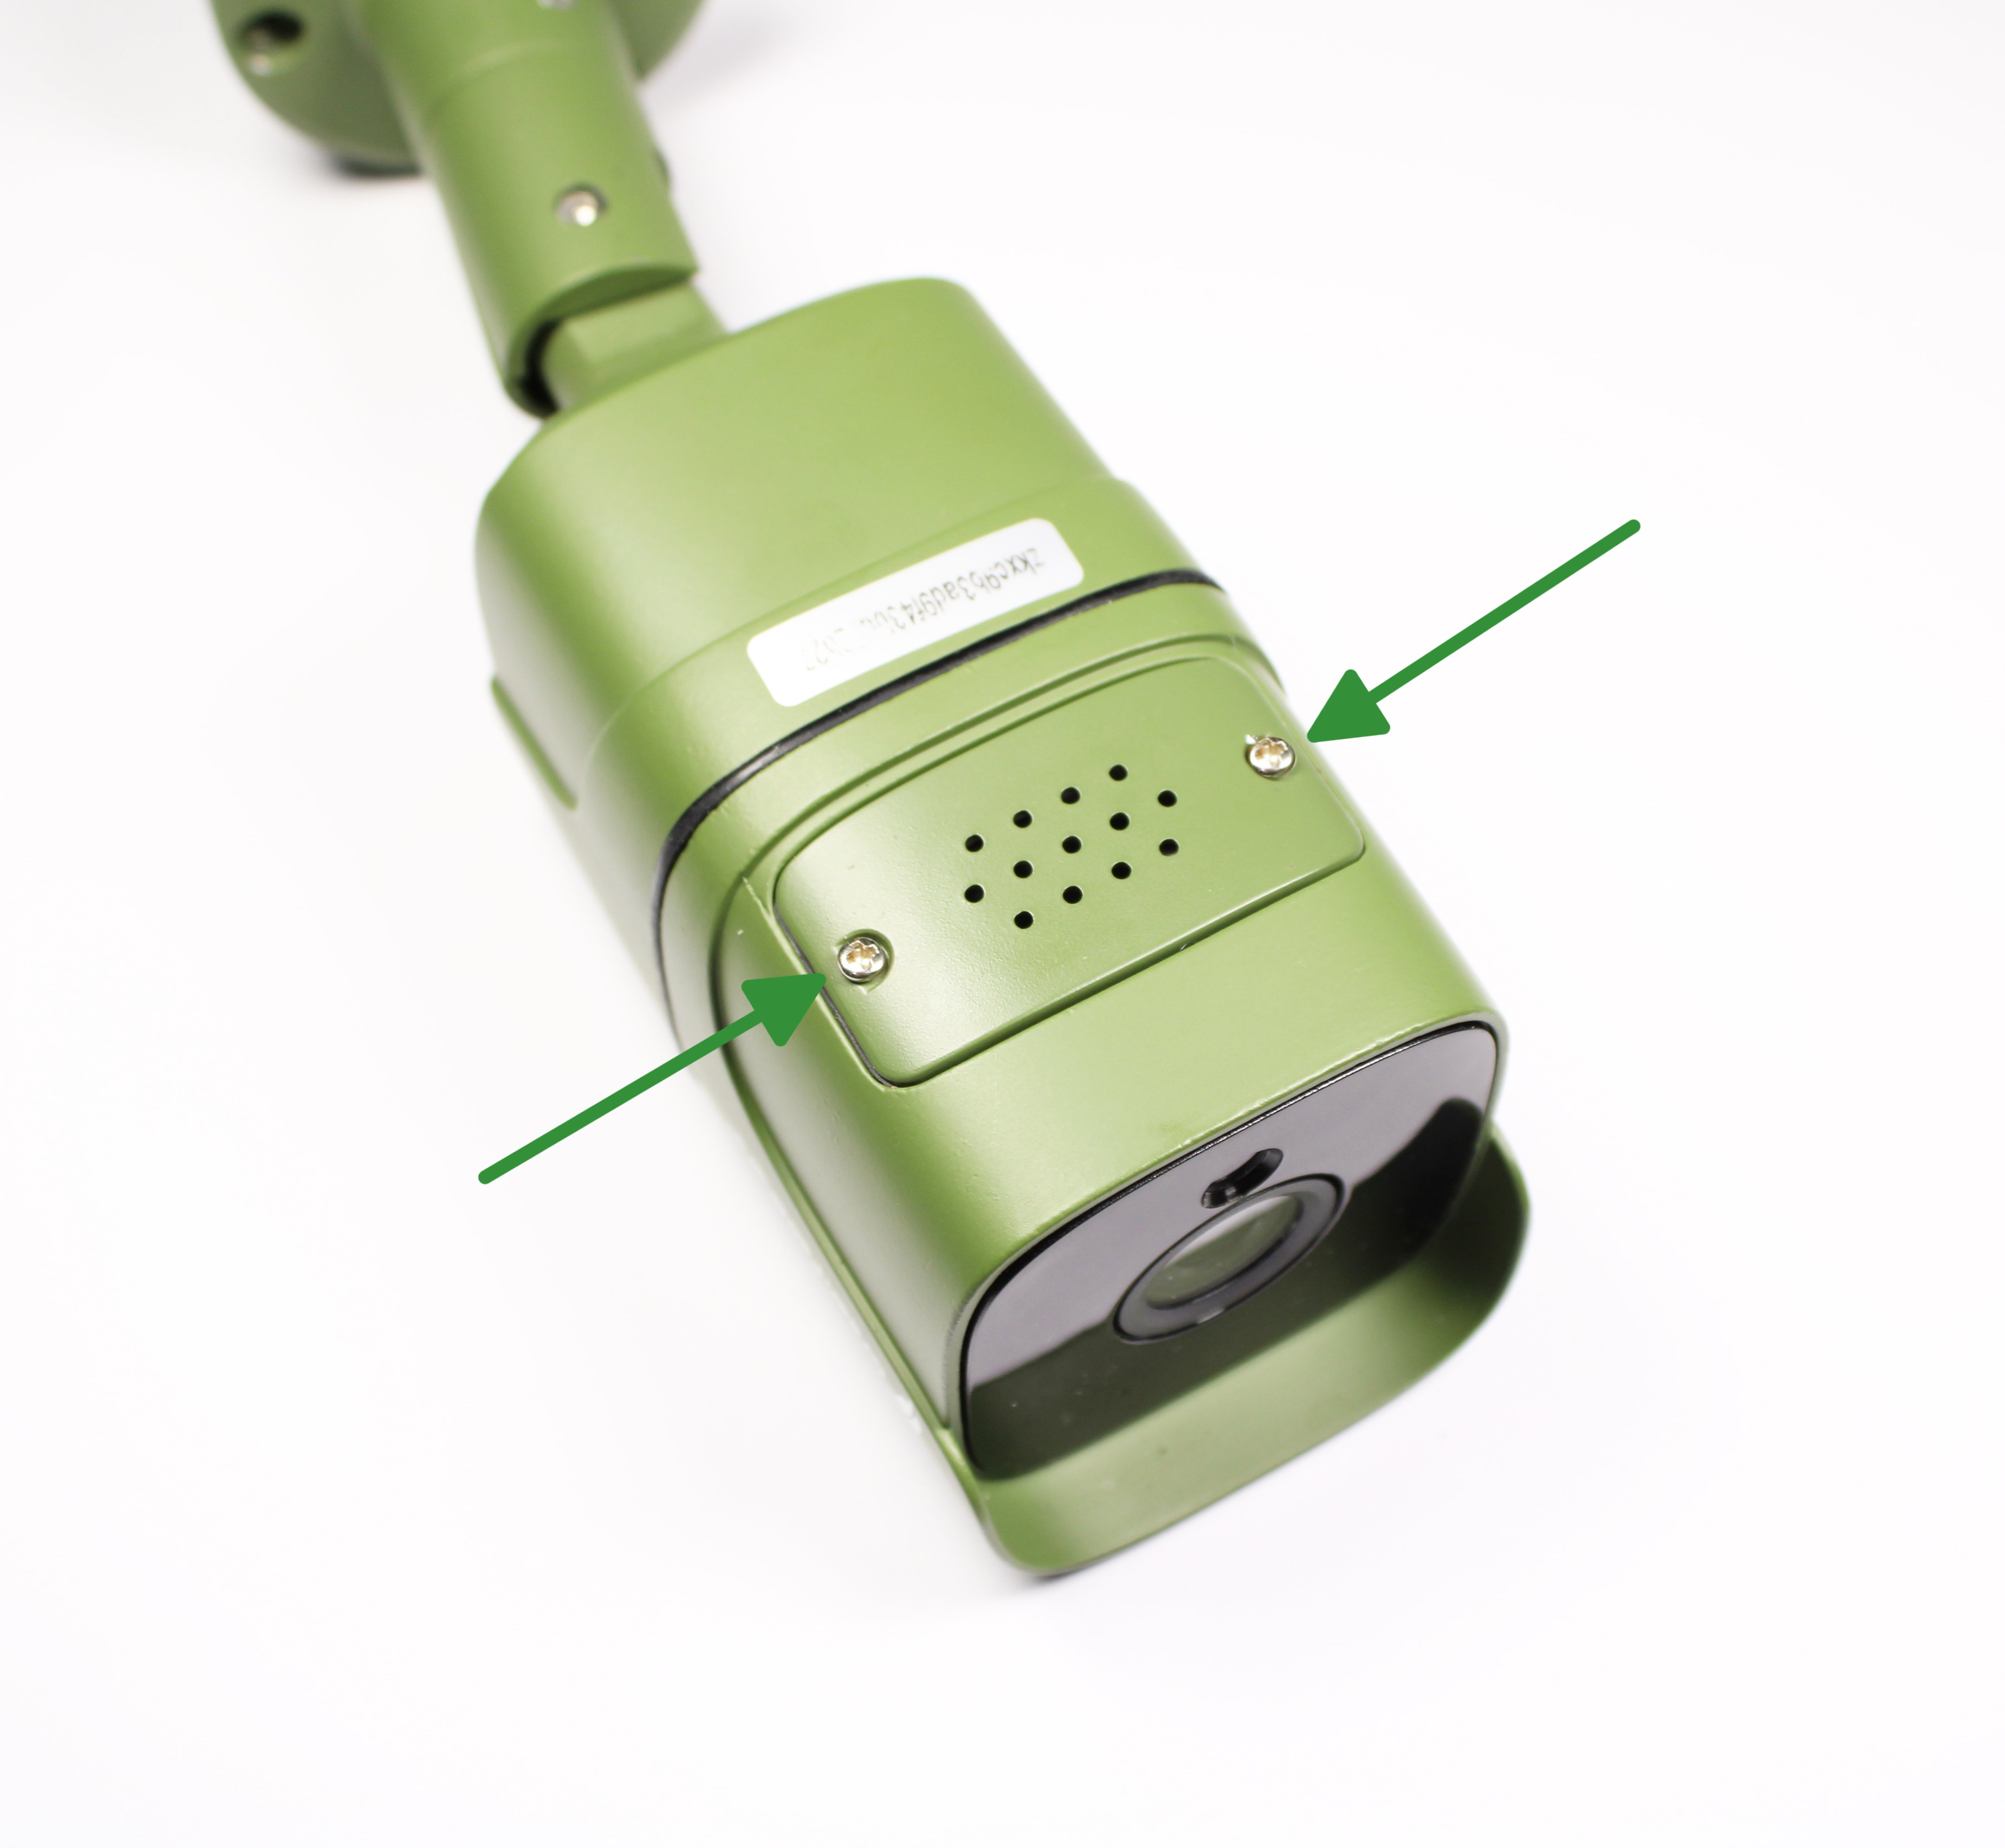
Inserting SD card in 3rd Generation Wi-Fi Bullet Wildlife Camera (GFIP320BWF) -
For this one you first need to remove the screws for the hatch on the underside of the camera. This will give you access to the memory card slot. Get your SD card and make sure you have just the micro SD card and not the standard SD adapter that some of them come with. You want to have the metal bars facing you, in the same direction as the camera lens.
 | 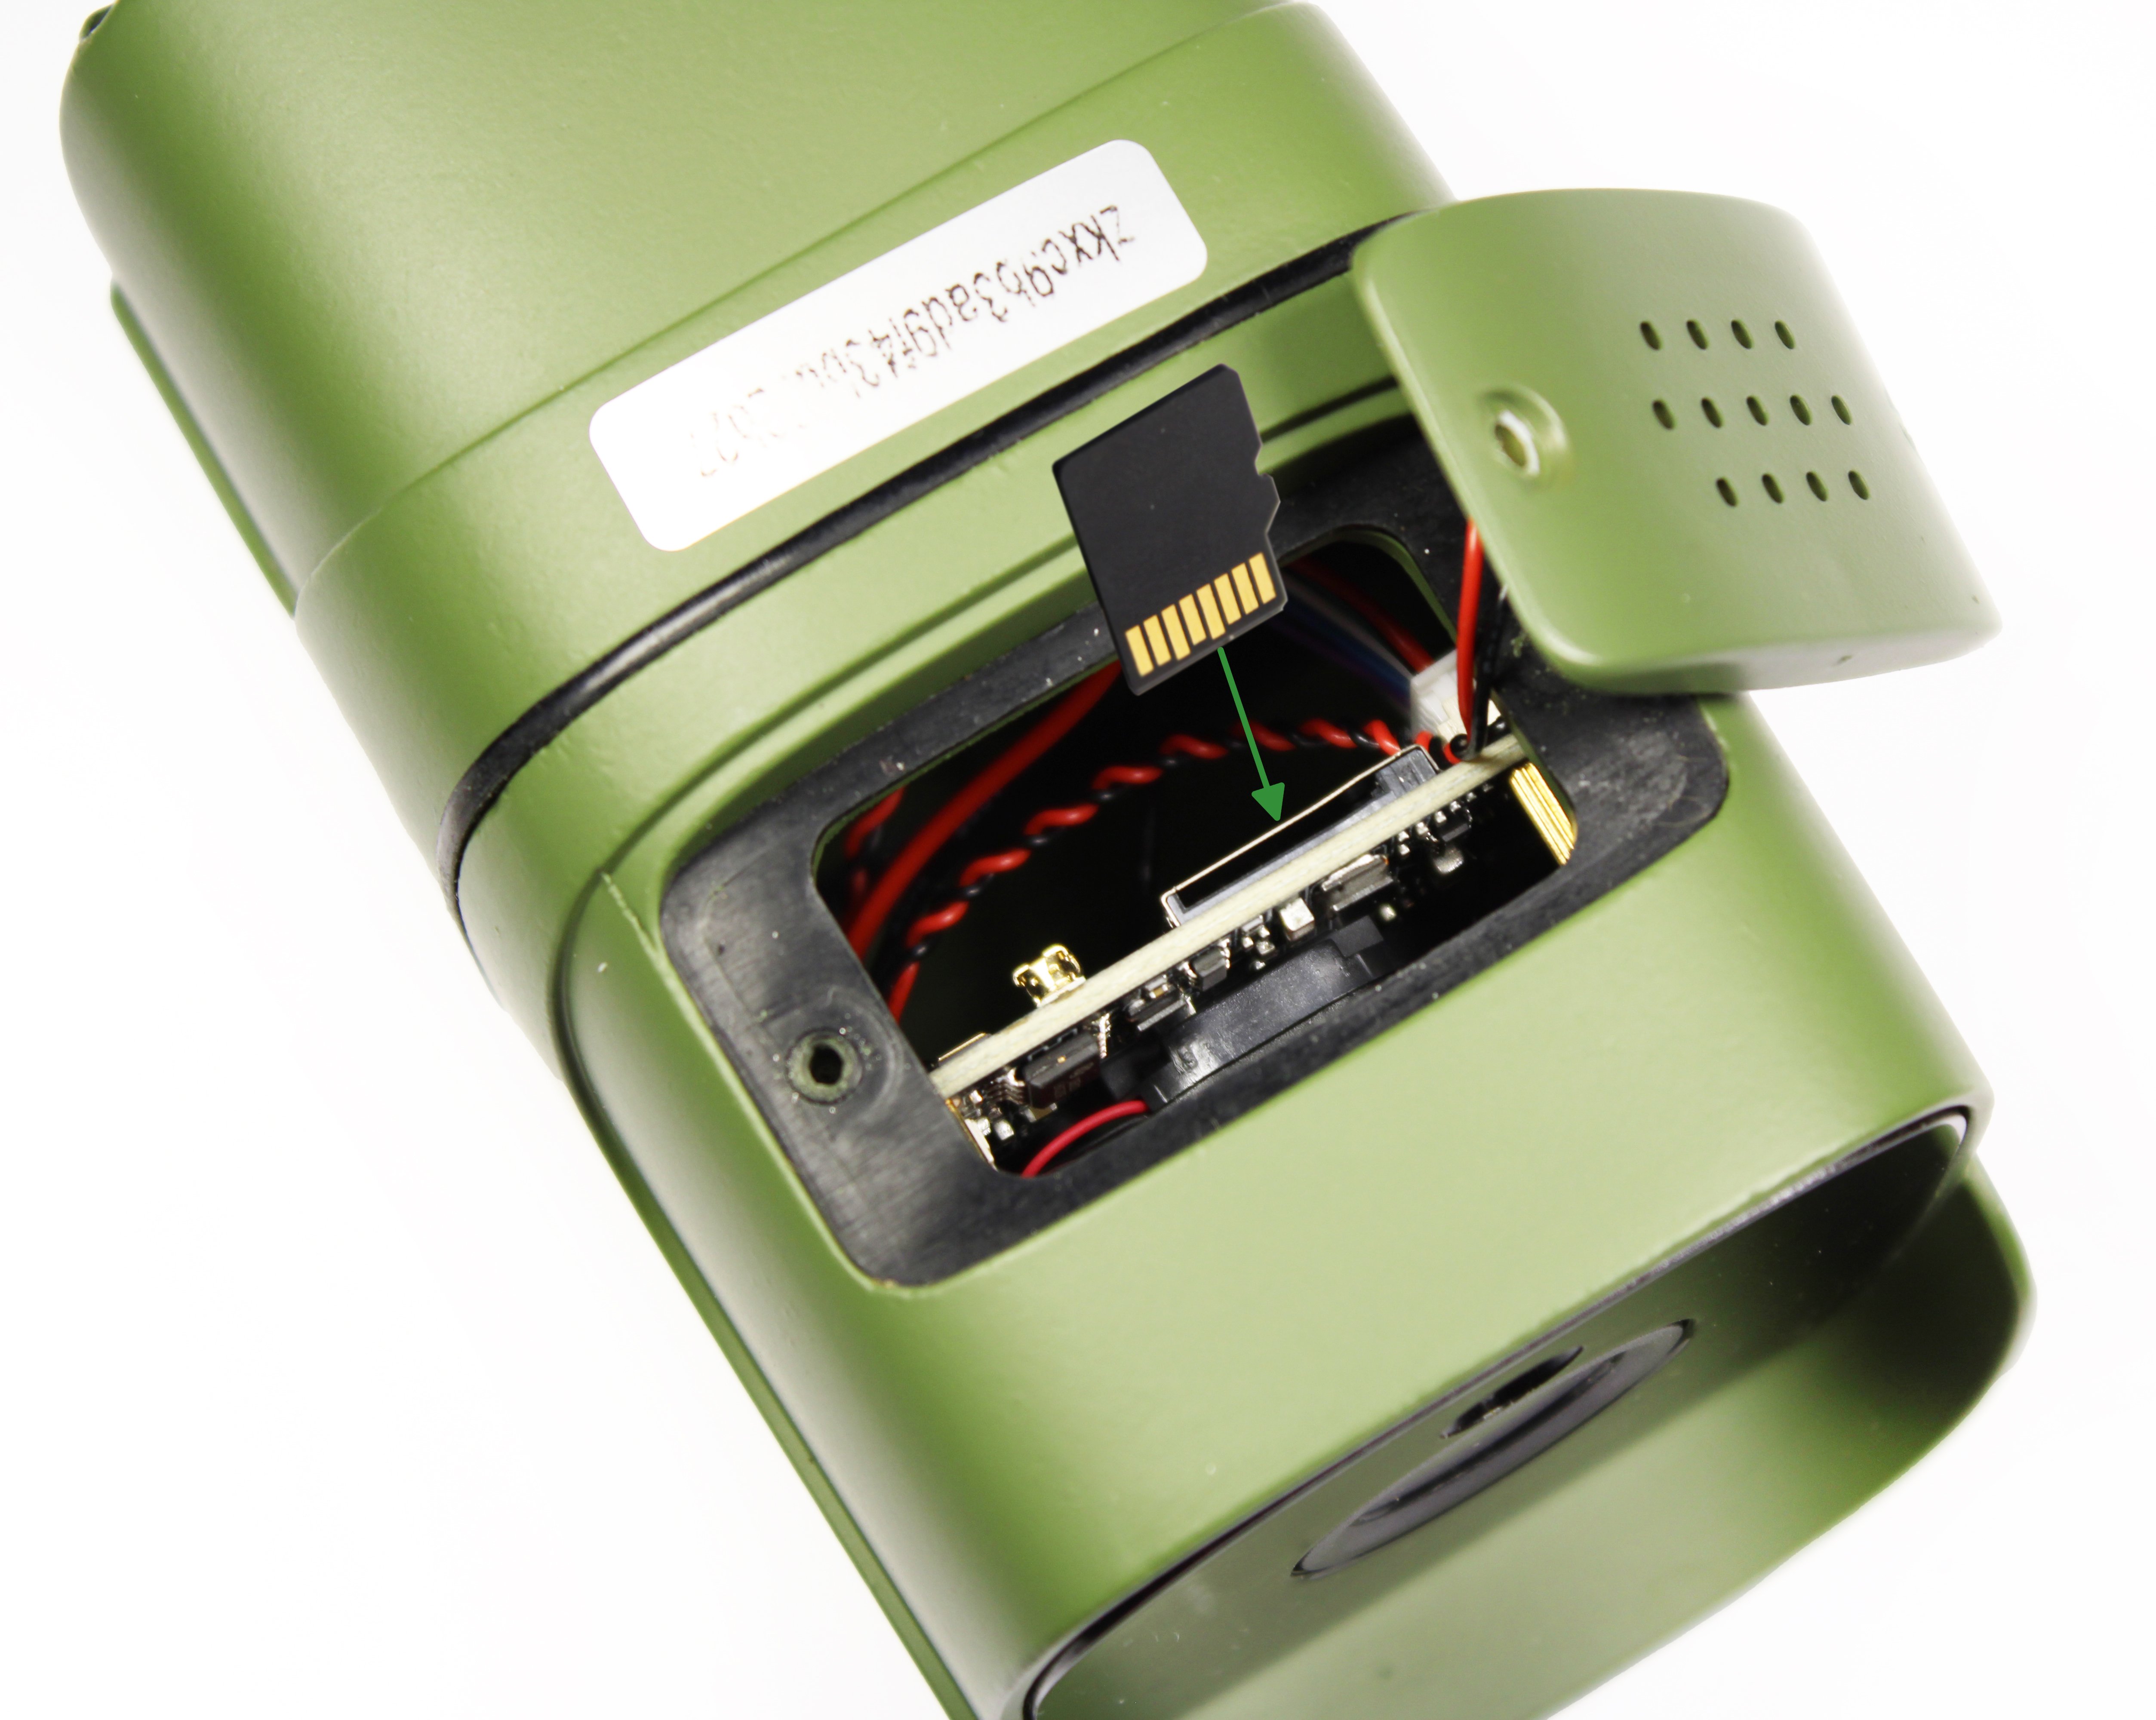 |
Once you have put the SD card in the slot, you will need to push it in until you hear a click. There will be some resistance as it has a spring mechanism. Once it has clicked, the card will be held in place.
Now connect the camera to the app and check to make sure it has registered the SD card by going into the camera settings and there will be an option for 'Storage Settings' select that one and it will tell you how much space on the card is left, if this option is not there, the camera has not registered the card. If it has not registered, you will need to format the card if you haven't already.
Now screw the cover back in place and you're done!
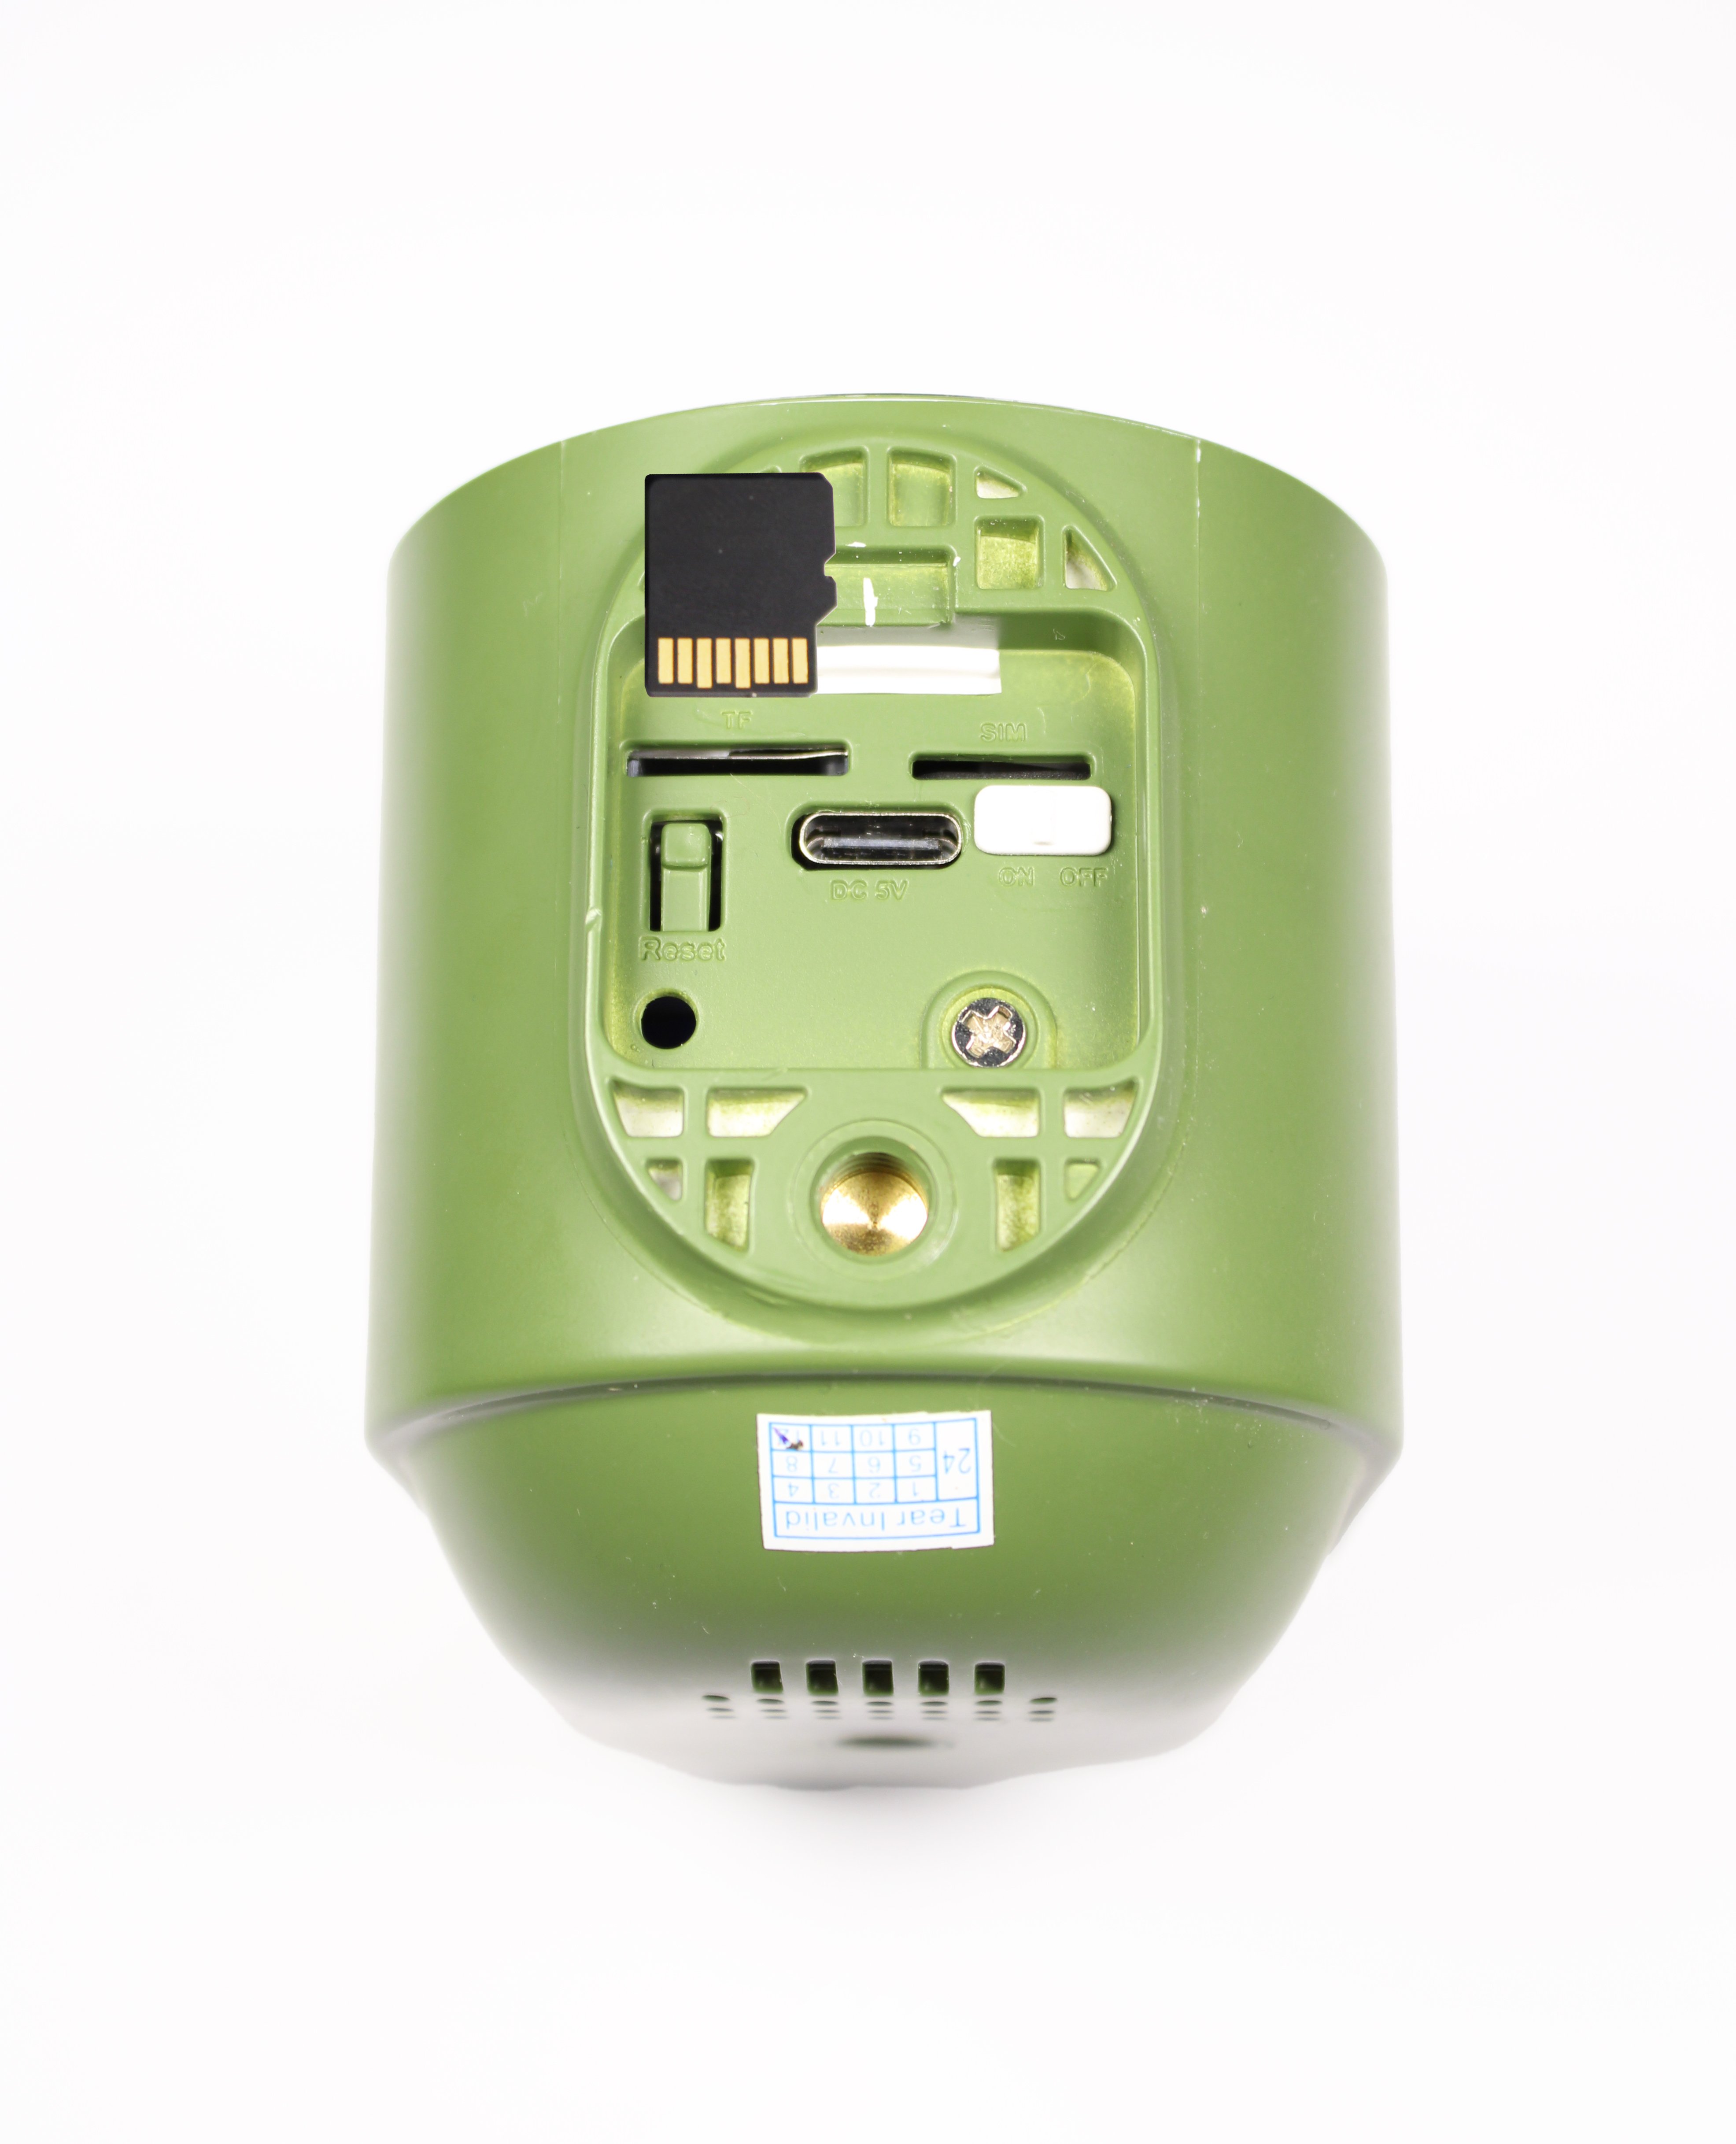
Inserting SD card in the Solar Camera (GFWF3R1S1) -
First thing you want to do is lift the rubber bung from the underside of the camera (for the purpose of this guide we have removed this piece). Get your SD card and make sure you have just the micro SD card and not the standard SD adapter that some of them come with. There are two slots on the solar camera, you want the one labelled TF. You will see in the image below that the camera lens is facing away and the metal bars on the card facing you, this is the way the SD card needs to be inserted.
Once you have put the SD card in the slot, you will need to push it in until you hear a click. There will be some resistance as it has a spring mechanism. Once it has clicked, the card will be held in place.
Now connect the camera to the app and check to make sure it has registered the SD card by going into the camera settings and there will be an option for 'Storage Settings' select that one and it will tell you how much space on the card is left, if this option is not there, the camera has not registered the card. If it has not registered, you will need to format the card if you haven't already.
Now you need to put the rubber bung back and you're done!
Need more help?
If you need help with anything else please check out our other guides or get in contact.